 Blaine Siding
 New-Construction Windows in Grandview: Getting the First Install Right
When a home in Grandview is being framed for the first time, or when an addition is going up, the windows go in before the siding, before the trim, and before most of the finish work anyone will ever see. That timing matters. A new-construction window is installed into an open stud bay with a nailing flange that gets integrated directly into the weather-resistive barrier (WRB) and flashing system, not squeezed into an existing opening after the fact. Get this step right and the wall assembly behind your siding stays dry for decades. Get it wrong and you won't know until there's rot, staining, or a soft spot in the wall five or ten years down the road — usually long after the framing crew and the builder have moved on.
We install new-construction windows for homes and additions in and around Grandview, and we treat this stage of the build as one of the most consequential parts of the whole project, even though it's one of the least visible once the siding goes up.
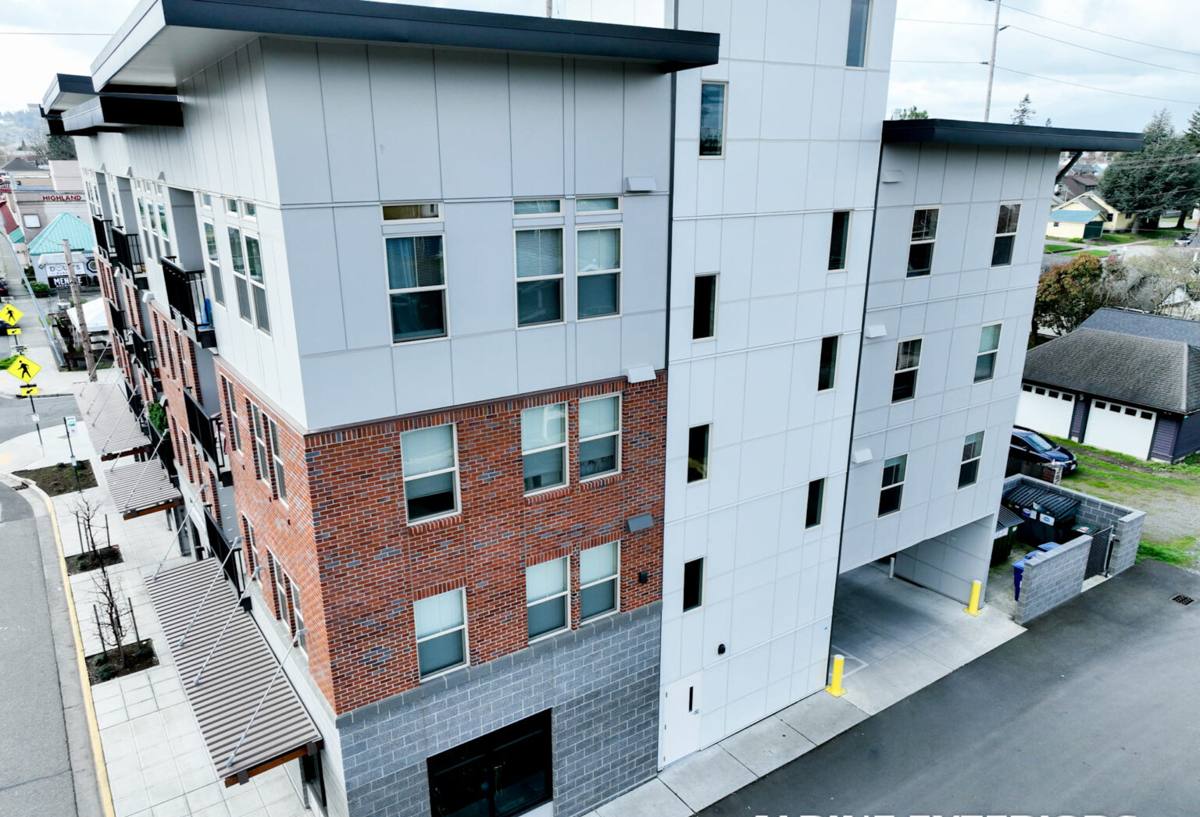
Why Grandview's Climate Changes How This Job Is Done
Grandview sits close enough to the water that salt-laden air is a real, daily factor on exposed metal, fasteners, and hardware. Combine that with the driving rain that comes through Whatcom County off the Strait, and you've got wind pushing moisture sideways into wall assemblies that a lot of standard installation details simply aren't built to handle. Add a moss season that runs long here — shaded north walls, roof-to-wall transitions, and anywhere water sits instead of shedding — and you have three separate stresses acting on the same window opening: corrosion, wind-driven water intrusion, and organic growth that traps moisture against surfaces it shouldn't.
None of these show up on day one. They show up in year three or four, when a poorly flashed head detail lets water track behind the trim, or when a fastener that wasn't rated for coastal exposure starts bleeding rust down a sill. New-construction installation is the one point in a home's life where all of this can be built out of the wall from the start, cheaply, instead of fought later.
What a Correct Flashing and Sealing Sequence Looks Like
The window itself is rarely the weak point in a failed installation — the flashing sequence around it is. On a job done right, the order matters as much as the materials:
- A sloped sill pan flashing goes in first, so any water that gets past the window has a way out, not a place to pool.
- The WRB (housewrap or building paper) is cut and lapped so water always drains over the layer below it, never behind it — this is where a lot of rushed jobs go wrong.
- Side flashing tapes seal the jambs before the window is set.
- The window is set, shimmed level and plumb, and fastened through the nailing flange per the manufacturer's schedule — skipping fasteners to save time is a common shortcut we won't take.
- Head flashing goes on last, lapped over the top of the WRB above it, so water sheds down and over every layer beneath.
- Backer rod and a compatible sealant finish the interior and exterior gaps — not spray foam alone, which isn't a substitute for proper flashing.
In a driving-rain environment like this one, the head flashing and the WRB lap sequence do most of the real work. A window that's plumb and sealed but sitting behind a sloppy WRB lap will still leak eventually — just slower.
Choosing Materials That Hold Up Near Salt Air
Not every window product handles a marine-influenced climate the same way. The frame material and hardware finish affect how the window ages over the first decade, especially on elevations that catch salt spray or sit in shade long enough to stay damp.
| Frame Material | Salt Air / Corrosion Behavior | Maintenance Needs | Best Fit |
|---|---|---|---|
| Vinyl | Won't corrode; UV and salt exposure can affect finish over many years | Low — periodic cleaning | Budget-conscious new builds, most elevations |
| Fiberglass | Very stable; minimal expansion/contraction, resists corrosion well | Low | Exposed or weather-facing elevations |
| Aluminum-clad wood | Exterior clad protects the wood, but any breach lets moisture reach the wood core | Moderate — sealant and clad joints need periodic checks | Homeowners wanting a wood interior look, with disciplined maintenance |
| Bare aluminum | Prone to corrosion and pitting in salt air over time without upgraded finishes | Higher | Generally not our first recommendation this close to the water |
We're not going to tell you a product is "bad" — every one of these has a legitimate place. But we do steer Grandview clients toward frame and hardware options with corrosion-resistant fasteners and finishes rated for coastal exposure, because that's the honest, low-maintenance choice for this specific location. If a client wants a clad-wood look on a west-facing wall that takes the brunt of the weather, we'll say so up front rather than let a callback happen in year six.
Performance Ratings Worth Actually Paying Attention To
New-construction windows get compared on U-factor, solar heat gain coefficient (SHGC), and design pressure (DP) rating. In this part of Washington, the practical priorities are usually:
- U-factor — lower is better for keeping heat in during the long, wet heating season most of the year.
- DP rating — this measures a window's ability to resist wind and structural pressure without deflecting or leaking; it matters more on exposed or elevated lots than it does in a sheltered, tree-protected yard.
- SHGC — less critical here than in sunnier climates, but still worth matching to the orientation of the wall.
New-construction jobs also need to meet current Washington State Energy Code requirements, which we build into the window schedule before ordering — this is easier to get right up front than it is to correct after the walls are closed in.
Our Install Process, Start to Finish
For a Grandview new build or addition, the sequence typically runs:
- Walk the plans and rough openings with the builder or homeowner, confirm window schedule and sizes against actual framing.
- Verify rough openings are square, plumb, and correctly sized before any window arrives on site.
- Install sill pan flashing and integrate the WRB per the sequence above.
- Set, shim, and fasten each window to manufacturer specification.
- Flash heads and jambs, seal interior and exterior per code and manufacturer instructions.
- Photograph flashing details before they're covered by siding or trim, for our own records and yours.
- Final check for level, plumb, square operation, and weathertight seal before we sign off.
That documentation step matters more than it sounds — once siding goes on, nobody can see the flashing again without tearing it off. Having a record of what's actually behind the wall is worth something if a question ever comes up later.
Mistakes We Commonly See in New-Construction Window Installs
Most of the problems we get called out to fix in this area trace back to the same handful of shortcuts:
- WRB laps installed backwards or taped in a way that traps water instead of shedding it
- Missing or flat (non-sloped) sill pans that let water sit instead of drain
- Fasteners skipped along the nailing flange to save time
- Spray foam used as the only seal, with no backer rod or proper sealant joint
- Head flashing installed under the WRB instead of lapped over it
- Standard hardware and fasteners used on salt-exposed elevations instead of corrosion-resistant options
Every one of these is invisible the day the house is finished. That's exactly why the installation crew's habits matter more than the window brand on the label.
Why Hiring a Crew That Already Works in Grandview Matters
A window installed correctly in a dry, inland climate can still fail here if the crew doesn't build in the extra margin this area's rain and salt exposure demand. We already know which elevations in this part of Whatcom County take the worst of the wind-driven rain, where moss tends to establish first, and which fastener and flashing choices hold up over time near the water. That's not a substitute for good workmanship — it's what tells us where to spend the extra care on a given job instead of treating every wall the same way a generic install schedule would.
Living With It: Maintenance in a Moss-Prone, Salt-Air Environment
A correctly installed new-construction window needs very little upkeep, but a few habits extend its life in this climate specifically: keep weep holes and drainage paths clear of debris and moss buildup, rinse salt residue off frames and hardware on exposed elevations a couple of times a year, and check exterior sealant joints periodically rather than waiting for a visible gap. None of this is difficult — it's mostly about not letting moss or debris sit against a sill long enough to hold moisture there.
If you're building new or adding on in Grandview and want windows installed the way this climate actually requires — not just the way a generic install schedule assumes — we're happy to walk the plans with you and give you a straightforward, no-pressure estimate. There's a form below to get that started.