 Blaine Siding
 Building New in Sandy Point Means Building for the Weather You Actually Have
Sandy Point sits close to open water, and that changes what a house needs from its windows before the first stick of siding ever goes up. Salt-laden air moves through the community year-round, wind-driven rain comes in sideways more often than it falls straight down, and the tree cover and marine humidity that make the area attractive also keep north and shaded walls damp long after a storm passes. None of that is a problem you can fix later with caulk. It has to be planned for at the framing and window-install stage, when the rough openings, flashing, and water-resistive barrier are still open and accessible.
We install new-construction windows for homes going up in and around Sandy Point, and we treat this stage differently than a typical replacement job in an existing wall. The stakes are higher because mistakes get buried behind siding and trim, and in a marine environment like this, a small flashing error can take years to show up as rot, corrosion, or a stained interior sill — by which point it's a much bigger repair than it would have been to catch during construction.
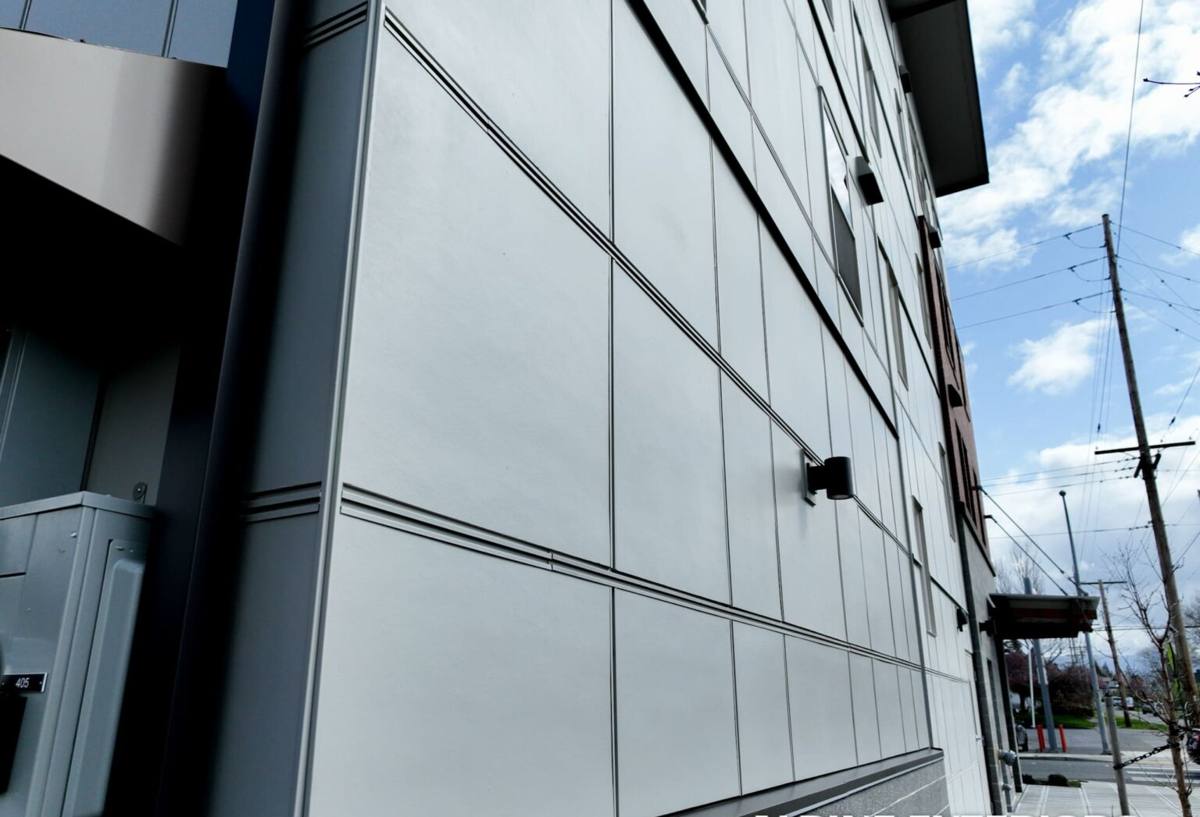
New-Construction vs. Replacement: Why the Install Method Matters Here
New-construction windows have a nailing fin (or flange) around the perimeter that gets integrated directly into the wall's water-resistive barrier before siding is installed. This is different from a replacement or "pocket" window, which is set into an existing frame with the exterior trim staying in place. On a new build, we get to do the job the way it's supposed to be done — full access to the rough opening, the sheathing, and the WRB, with no old caulk or trim to work around.
That access matters a lot in a coastal setting. It means we can build a proper drainage path behind the window instead of relying on sealant alone to keep water out. Sealant fails eventually — it's a maintenance item, not a permanent barrier. A correctly flashed and shingled installation sheds water by gravity and geometry first, with sealant as a backup, not the primary defense.
What "Correct" Actually Means in a Wind-Driven Rain Zone
In a sheltered inland location, a window installer can get away with a simpler flashing sequence and still avoid problems for years. Sandy Point doesn't offer that margin. Wind-driven rain pushes water sideways and even slightly upward against a wall, which means head flashing, side flashing, and sill details all have to be sequenced correctly — each layer lapping over the one below it, shingle-style, so water always has a path down and out, never in.
Getting the Water Management Details Right
This is the part of a new-construction window install that homeowners rarely see, but it's the part that determines whether the window performs for thirty years or starts causing problems in five.
- Sill pans: A sloped, sealed pan under the window opening catches any water that gets past the window itself and directs it back out to the exterior, rather than letting it sit on the sheathing or wick into the framing.
- Flashing tape and sequencing: Sill flashing goes on first, then the window, then jamb flashing over the fin, then head flashing last — each layer overlapping the one beneath it so water sheds downward and outward.
- WRB integration: The building wrap or house wrap has to be cut, lapped, and taped into the window flashing correctly, not just stapled around the opening. A gap or reverse lap here is one of the most common sources of hidden leaks.
- Backer rod and sealant: Used as a secondary seal at the interior and exterior perimeter, not as the main water barrier.
- Shims and fastening: The window has to be shimmed square, plumb, and level, and fastened per the manufacturer's schedule — over- or under-fastening can distort the frame and cause the sash to bind or the seals to fail early.
Skipping or rushing any one of these steps might not show up at final inspection. It shows up two or three winters later, when a Whatcom County storm pushes rain into a wall cavity that never had a real drainage path.
Choosing a Frame Material for Salt Air and Driving Rain
Frame material is a real decision on a Sandy Point build, not just a budget line. Salt air accelerates corrosion on unprotected metal hardware and can dull or pit certain finishes faster than in an inland location. We talk through the trade-offs honestly with every homeowner rather than pushing one product line.
| Frame Type | Salt Air / Moisture Behavior | Maintenance | Typical Fit |
|---|---|---|---|
| Vinyl | Won't corrode or rust; performs well in coastal humidity | Low — occasional cleaning | Cost-conscious builds, most new construction |
| Fiberglass | Very stable, minimal expansion/contraction, strong moisture resistance | Low | Larger openings, higher-end specs |
| Aluminum-clad wood | Good exterior protection if the cladding and seals are intact; interior wood still needs monitoring at the sill | Moderate — sealant and cladding joints need periodic check | Homeowners who want a wood interior look |
| Bare aluminum | More prone to corrosion and condensation in marine air unless thermally broken and well-finished | Higher — hardware and finish need attention | Generally not our first recommendation this close to the water |
We're not against any of these products outright — each has a legitimate place. Our standard recommendation for most Sandy Point new builds is vinyl or fiberglass because they hold up with the least maintenance in salt air, but if a homeowner or builder wants a clad-wood look, we'll install it correctly and explain what upkeep that choice requires so there are no surprises later.
Moss, Shade, and Long-Term Window Health
Whatcom County's long moss season isn't just a roofing and siding issue — it's a window issue too. Shaded elevations and north-facing walls stay damp longer after rain, which means trim, sills, and the areas right around window openings are more prone to organic growth and slow moisture buildup if they aren't detailed correctly. A properly flashed, well-drained window opening sheds water fast enough that moss and mildew don't get the standing moisture they need to take hold. A poorly detailed one becomes a spot where water lingers, and that's exactly where problems start.
This is another reason the installation details matter more here than in a drier climate: the margin for error is smaller, and the consequences of a shortcut show up sooner.
Our Process on a Sandy Point New Build
1. Plan Review and Site Visit
We look at the window schedule, wall assembly, and rough opening sizes before install day, and we walk the site to check orientation and exposure — a window on the water-facing side of a Sandy Point lot gets treated differently than one tucked on a sheltered elevation.
2. Rough Opening Check
Every opening gets checked for square, level, and correct sizing before a window goes in. Catching a framing issue now is a five-minute fix; catching it after the window is set is not.
3. Sill Pan and Flashing Installation
We build the drainage path first — sill pan, then window, then the full flashing and WRB integration sequence described above.
4. Setting, Shimming, and Fastening
The window is set plumb, level, and square, shimmed at the manufacturer's specified points, and fastened per their schedule — not just nailed around the perimeter and called done.
5. Final Seal and Documentation
Interior and exterior sealant goes on as the secondary seal, and we photograph the flashing and pan details before they're covered by siding, so there's a record of what's behind the wall if it's ever needed.
Coordinating with Your Builder and Other Trades
New-construction window installation doesn't happen in isolation. It has to line up with the framer's rough openings, the siding crew's plans, and often the trim carpenter's schedule. We work directly with general contractors and builders on Sandy Point projects to make sure window install happens at the right point in the sequence — WRB on, flashing integrated, and siding not started until the window details are complete and dry. Showing up out of sequence is one of the most common ways new-construction window details get compromised, and it's avoidable with basic coordination.
Checklist: What a Correct New-Construction Window Install Includes
- Rough opening checked for square, level, and correct dimensions
- Sloped, sealed sill pan installed before the window
- Flashing sequenced shingle-style: sill, then window, then jambs, then head
- Water-resistive barrier properly lapped and taped into the flashing, no reverse laps
- Window shimmed and fastened per the manufacturer's schedule
- Backer rod and sealant applied as a secondary seal, not the primary one
- Frame material appropriate to the wall's sun and wind exposure
- Flashing and pan details photographed before being covered by siding
Why a Crew That Already Works Sandy Point Makes a Difference
Anyone can install a window on a calm, dry day. The real test is whether it still performs correctly after five winters of Strait-facing wind, salt air, and driving rain. A crew that regularly works Sandy Point and the surrounding Blaine area already knows which elevations take the worst weather, which frame materials hold up without babying, and how the local building department expects flashing and drainage details to be documented at inspection. That's knowledge you don't get from a general install checklist — it comes from working this specific stretch of Whatcom County coastline job after job.
We'd rather spend an extra hour getting the flashing and drainage right during construction than have a homeowner call us in three years about a stained sill or a soft spot in the wall. On a new build, that hour is available. Once the siding is up, it isn't.
If you're building new in Sandy Point and want windows installed the way this climate actually requires, we're happy to walk the plans with you or your builder and give a straightforward, no-pressure estimate — just fill out the form below.