 Blaine Siding
 New-Construction Windows in Peace Arch: A Different Job Than Replacement
New-construction window installation is not the same trade as replacing an old window in an existing wall. On a new build, the window goes into a bare rough opening before siding, and it has to tie into the house's water-resistive barrier (WRB), flashing, and framing as a single connected system. Get that sequence wrong and the mistake gets buried behind siding and trim for years, quietly feeding water into the wall cavity until it shows up as rot, stains, or a soft spot on a windowsill. In Peace Arch, where homes take on salt-laden air off the water along with long stretches of driving rain, that margin for error is smaller than it is inland.
We install new-construction windows for builders and homeowners working on new homes, additions, and full-tear-down rebuilds in and around Peace Arch. This page covers what the job actually involves, what your home needs given the local climate, and how our process protects the work once the siding goes back on.
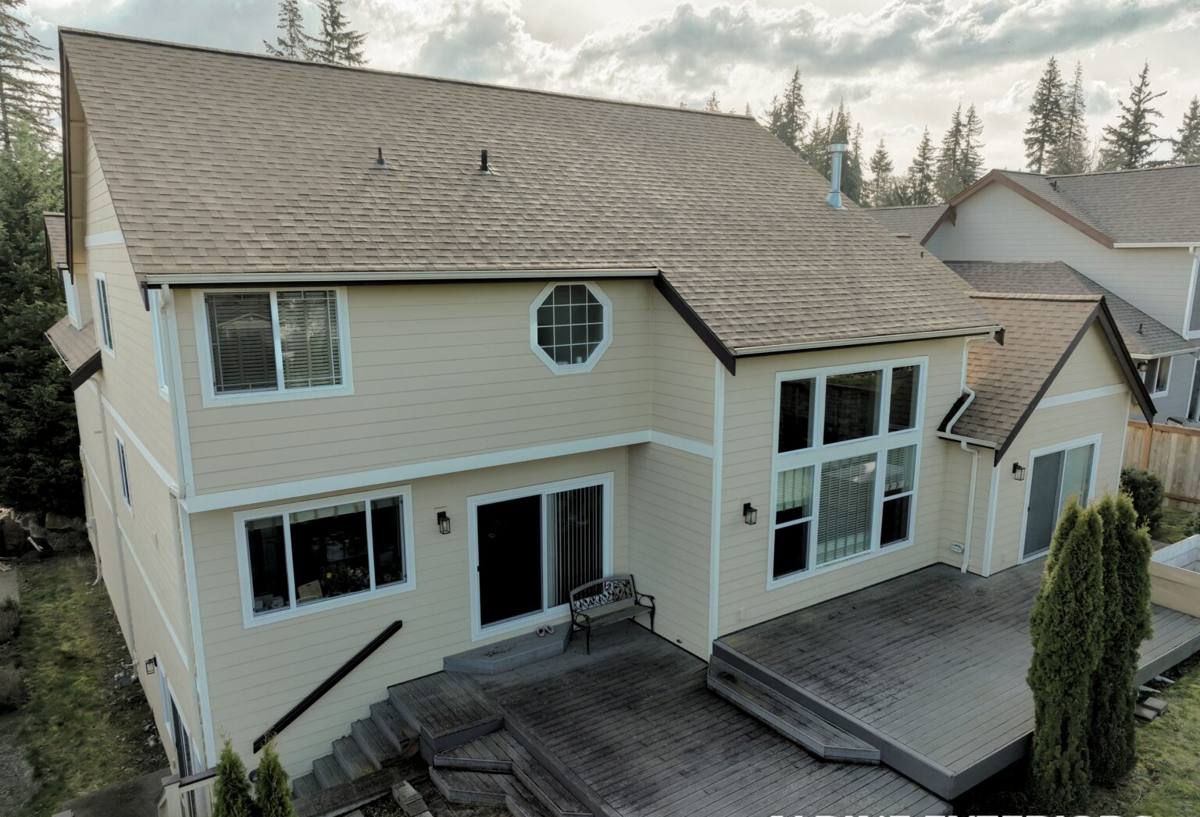
Why Peace Arch's Climate Changes the Window Install
Peace Arch sits close enough to the water that salt air is a real factor in material selection and hardware longevity, not a theoretical one. Combine that with Whatcom County's wet season — months of low-intensity, wind-driven rain rather than short heavy storms — and you get a climate that tests window flashing details more than it tests the window itself. Add a long moss season, when persistent damp and shade keep exterior surfaces wet longer than they'd stay wet in a drier climate, and you have three separate pressures working on the same envelope:
- Salt air accelerates corrosion on unprotected fasteners, hinges, and lesser-grade hardware over time.
- Driving rain pushes water sideways and upward against the building, which means flashing has to shed water down and out, not just cover the top of the opening.
- Extended damp/moss season keeps sills, sub-sills, and trim wet for longer stretches, which punishes any installation that traps moisture instead of letting it drain and dry.
None of this means Peace Arch needs exotic materials. It means the installation details — flashing laps, sealant placement, sill pans, weep paths — have to be done correctly and in the right order, every time, because the climate won't forgive a shortcut the way a drier region might.
What a Correct New-Construction Window Install Involves
Flashing and Water Management
The single most important part of a new-construction window install is the flashing sequence, and it has to follow a shingle-lap logic so water always moves down and out over the layer below it, never into a seam. In practice that means the WRB (house wrap) gets integrated with the window's flanges in a specific order: sill pan or sill flashing first, then the window itself set into the pan, then jamb flashing over the side flanges, then head flashing last, lapped over the jambs. Sealant goes where it's supposed to trap water out, and is deliberately left off the bottom of the nailing fin so any water that does get behind the siding has somewhere to drain instead of pooling against the sill.
Frame Types: Nail Fin vs. Block Frame
Most new-construction windows in this region use a nail-fin (flange) frame, which fastens directly to the wall sheathing and integrates with the WRB before siding goes on — this is the standard approach for wood-framed new builds and is what we install most often in Peace Arch. Block-frame windows, which set into a rough opening without a flange, show up more in masonry or specific architectural applications. The frame type has to match how the wall assembly is built; using the wrong one, or improvising a flashing detail because the wrong window showed up on site, is one of the more common corner-cutting problems we're brought in to fix on other people's work.
Shimming, Squaring, and Fastening
Beyond flashing, the window itself has to be set plumb, level, and square in the opening, shimmed at the right points (not just at the corners) so the frame doesn't rack or bind, and fastened per the manufacturer's schedule. A window that's out of square will bind on its rollers or hinges early, let air past the weatherstripping, and can void the manufacturer's warranty — all things that are cheap to prevent during install and expensive to fix after the siding is on.
Choosing Windows for a Peace Arch Home
We don't push one frame material as the answer for every project — the right choice depends on budget, style, and how close the home sits to salt air and prevailing wind-driven rain. Here's how the common options stack up for this climate:
| Frame Material | Moisture/Salt Air Resistance | Maintenance | Typical Cost Tier | Best Fit |
|---|---|---|---|---|
| Vinyl | Good — won't corrode or rot, seams are the main watch point | Low | Lower | Budget-conscious builds, rental/spec homes |
| Fiberglass | Very good — dimensionally stable, handles temperature swings and moisture well | Low | Mid to upper | Homes closer to the water or with heavy sun/rain exposure |
| Wood-clad (aluminum or fiberglass exterior) | Good if the cladding and flashing are done right — the wood core must stay sealed from moisture | Moderate | Upper | Homeowners wanting a wood interior look with a protected exterior face |
| Aluminum | Fair — needs a marine-grade or coated finish near salt air to resist corrosion and pitting | Low to moderate | Mid to upper | Modern architectural styles, larger openings |
Whatever frame material you land on, we pay close attention to fastener and hardware grade on any home within a few miles of the water — standard-grade screws and hinges corrode faster in salt air, and that's a detail worth the small upcharge over the life of the window.
How the Process Fits Into a New Build
New-construction window installation runs on the builder's schedule, not a standalone timeline, so coordination matters as much as the install itself. We typically come in once the home is dried in — sheathing and WRB installed, rough openings framed to spec — and before siding starts. That sequencing is deliberate: installing windows too early, before the WRB is properly lapped and taped, risks flashing into an incomplete water barrier; waiting too long delays the framer, roofer, and siding crew behind us.
On a job with a general contractor, we confirm rough opening sizes against the window order before the windows arrive on site — a mismatch here is one of the most common causes of delay on new builds, and it's far easier to catch on paper than after a window shows up too big or too small for its opening. We also coordinate directly with the builder on flashing tie-in points, especially where windows meet deck ledgers, roof-to-wall intersections, or other details where more than one trade's work overlaps.
Our New-Construction Window Process
- Rough opening verification — confirm every opening matches the window order before install day, catching sizing problems while they're still cheap to fix.
- WRB and flashing prep — inspect and correct the house wrap around each opening before setting windows, since we're relying on that layer to work with our flashing.
- Sill pan and flashing installation — sill first, window set into it, then jamb and head flashing lapped in the correct order.
- Set, shim, and fasten — window plumbed, leveled, squared, shimmed at load points, and fastened to the manufacturer's schedule.
- Sealant and gap fill — sealant placed where it should be, left open where drainage needs a path, and gaps around the frame insulated per code.
- Final check — every window opens, closes, and locks correctly, and every flashing lap is verified before the siding crew covers it up.
Signs a New-Construction Window Install Was Done Right
If you're a homeowner watching your build from the outside, or a builder doing a final walk before siding starts, here's what to look for before that window gets covered up for good:
- Flashing laps in shingle-style order — sill, then jambs, then head, each layer over the one below it
- No sealant along the bottom of the nailing fin or sill flashing (water needs a path out, not a dam)
- Window sits plumb and level in the opening with no visible racking or gaps at the corners
- Shims placed at structural points, not just jammed in at random
- Sash opens, closes, and locks smoothly with no binding
- WRB properly taped and lapped over the flanges, with no exposed staples or fastener heads
- Hardware and fasteners rated for coastal or high-moisture exposure on homes near the water
Why Hire a Crew That Already Works in Peace Arch
New-construction window installation is detail work that's easy to do wrong in ways that don't show up for a year or two — a missed flashing lap or a sealant bead in the wrong spot doesn't leak on day one, it leaks the first time a long driving rain sits against the wall. A crew that already works in Peace Arch and around Blaine has seen how this specific climate stresses those details: how far the salt air problem extends inland, which orientations take the worst of the wind-driven rain, and how long moss season keeps trim and sills wet each year. That local pattern recognition is the difference between a flashing detail that meets code on paper and one that actually holds up through a Whatcom County winter.
We also work regularly with builders and general contractors in the area, which means we understand how to fit into a build schedule without becoming the trade that holds everyone else up — confirming rough openings early, showing up ready on install day, and flagging any framing or WRB issues before they become our problem or the builder's.
Get a Free Estimate for Your Peace Arch Build
If you're building new, adding on, or planning a rebuild in Peace Arch or elsewhere around Blaine, we're happy to walk the plans or the framed openings with you and give you an honest read on window selection and installation scope. Use the form below to request a free, no-pressure estimate.