 Blaine Siding
 Building New in Dakota Creek? The Windows Aren't a Detail You Fix Later
If you're framing a new home in the Dakota Creek area near Blaine, the windows are one of the few components on the house where a mistake made during rough-in doesn't show up for months or years — and by then it's hidden behind siding, trim, and drywall. New-construction window installation is a different job than swapping an old window for a new one in an existing wall. It happens at a specific point in the build sequence, it has to be coordinated with the weather-resistive barrier and the siding plan, and it only gets one shot to be done correctly before the wall closes up around it.
We install new-construction windows for builders and homeowners working in and around Dakota Creek, and we size that work specifically for what this stretch of Whatcom County throws at a house: salt-laden air off the water, wind-driven rain that doesn't fall straight down, and a long stretch of the year where moss and moisture sit on exterior surfaces longer than most product warranties assume.
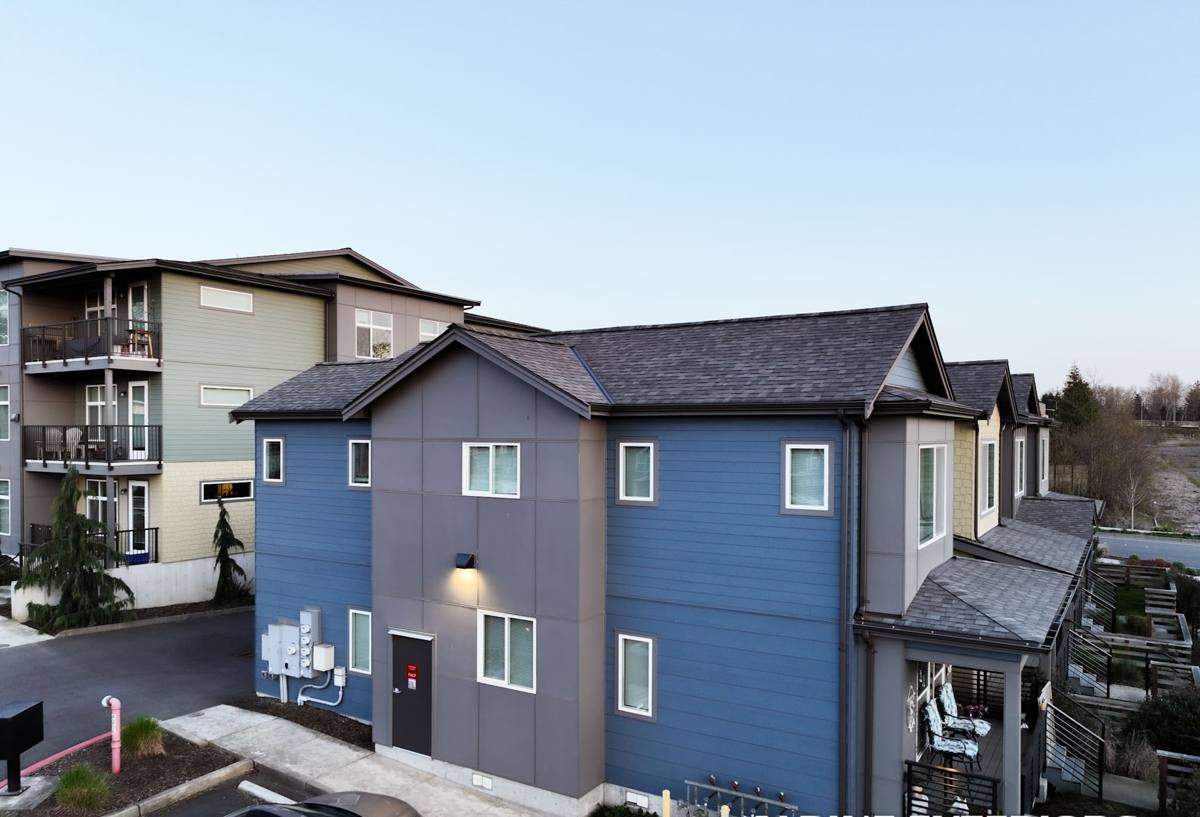
What Blaine's Climate Asks of a New Window Opening
Salt Air and Corrosion
Homes near the water in Whatcom County are exposed to airborne salt that settles on hardware, fasteners, and unprotected metal. Over years, that accelerates corrosion on cheap flashing tape, uncoated fasteners, and low-grade window hardware. It's not dramatic — it's slow, and it's the kind of thing that turns into a sticking sash or a rusted-through flashing edge a decade after everyone's stopped thinking about it.
Driving Rain and Wind Exposure
Rain in this area frequently arrives at an angle, pushed by wind off the water rather than falling straight. That matters for window installation because a lot of standard flashing details assume water moving straight down a wall. An opening that's only flashed for vertical drainage — and not for water being driven sideways and upward under pressure — will eventually leak, usually at the corners or the sill first.
Moss Season and Prolonged Dampness
Blaine gets a long wet season where surfaces stay damp for extended stretches, and moss and algae growth is common on north- and shade-facing exteriors. Around windows, prolonged dampness at the sill or head is what turns a small installation gap into rot in the surrounding framing. The install has to assume water will find its way to the opening eventually — the job is making sure it always has somewhere to go besides into your wall.
New-Construction Windows vs. Replacement Windows: Why the Install Method Matters
These are genuinely different products and different jobs, not just different price points. Confusing the two — or having a crew install one using techniques meant for the other — is one of the more common causes of early window failure in new builds.
| Factor | New-Construction (Nail-Fin) | Replacement (Pocket/Insert) |
|---|---|---|
| When it's used | Open stud wall, before siding goes on | Existing wall, old window frame stays in place |
| How it attaches | Flange nailed directly to sheathing | Fits inside the old window's frame |
| Flashing approach | Full sill pan, WRB integration, layered head flashing | Relies on the condition of the existing opening |
| Best for Dakota Creek builds | Yes — built into the wall system from the start | Not applicable to new construction |
For a new build, the window flange becomes part of the wall's drainage plane. That only works if it's integrated with the weather-resistive barrier in the correct order — a detail that's easy to get backwards if a crew is used to replacement work and treats the opening like it's just dropping a unit into an existing hole.
What a Correct New-Construction Window Install Actually Involves
There's a specific sequence that has to happen in order, not just a list of steps done at some point before siding goes up:
- Rough opening checked for square, level, and correct size before the window ever shows up on site
- Sill pan flashing installed to catch and direct any water that gets past the window to the outside, not into the framing
- Weather-resistive barrier cut and integrated so the layers shingle correctly — each layer overlapping the one below it, the way roofing shingles do
- Window set, leveled, and shimmed so the sash operates correctly and the frame isn't under stress
- Nail fin fastened per the manufacturer's schedule — not just a few nails at the corners
- Head flashing installed last, over the top of the WRB, so water sheds down and over everything below it
- Sealant applied only where it's supposed to be — sealing the wrong seam can trap water instead of keeping it out
That last point trips up a lot of crews who aren't doing this work daily. The instinct is to caulk everything for good measure. In practice, a fully sealed bottom flange with no way for water to escape is worse than an unsealed one, because any water that does get past the window has nowhere to go except into the wall cavity.
Before we sign off on any opening, we run through the same short list every time:
- Rough opening dimensions match the window schedule exactly
- Sill pan is sloped and drains to the exterior, not level or sloped inward
- WRB laps are shingled correctly — upper layers over lower layers
- Fastener count and placement match the manufacturer's installation instructions
- Head flashing is installed and laps over the WRB above the window
- Sealant is placed only at the specified locations, leaving the bottom flange path clear
- Sash operates smoothly with no binding before the crew leaves the opening
Choosing a Window Frame Material for a Dakota Creek Build
Frame material matters more here than it does further inland, because salt air, moisture, and long damp stretches all interact with the frame surface over time. There's no single right answer for every project — it comes down to maintenance tolerance, budget, and how exposed the house is to wind and water.
| Frame Material | Maintenance | Moisture Behavior | Typical Trade-Off |
|---|---|---|---|
| Vinyl | Low — no painting or sealing | Doesn't rot; seams can be a weak point if not installed carefully | Cost-effective, but installation quality matters more than with other materials |
| Fiberglass | Low to moderate | Very stable, resists expansion and contraction from temperature swings | Higher upfront cost, strong long-term performance |
| Wood-Clad | Higher — exposed wood interior or exterior needs upkeep | Excellent look, but any breach in the cladding exposes wood to moisture | Best appearance, most maintenance-sensitive in a wet, salty climate |
We don't push one brand or one material on every job. What we do insist on is that whatever product goes in gets installed to its manufacturer's actual specifications, and that the homeowner understands the maintenance trade-off they're signing up for. A wood-clad window in a shaded, damp corner of a Dakota Creek lot is a different maintenance commitment than the same window on a sun-exposed wall — that's worth talking through before you order windows, not after.
How We Work With Your Builder or General Contractor
Most of our new-construction window work happens as a scheduled trade on someone else's build, not as a standalone project. That means our sequencing has to fit around framing, dry-in, and whatever siding contractor is coming in after us. A few things we do as standard practice:
- Confirm rough openings against the approved window schedule before the windows are ordered, so sizing mistakes get caught early instead of on install day
- Coordinate timing with the framer and the WRB installer, since window flashing has to integrate with the house wrap — not go in before it or fight against it later
- Document the flashing details as installed, so the siding crew that comes in after us knows exactly what they're building on top of
- Communicate directly with the GC on schedule changes, since a delay in framing or a change in siding material can shift when windows need to go in
If you're the homeowner managing your own build, we're glad to work directly with you and coordinate with whichever trades are ahead of and behind us in the schedule.
Why a Crew That Already Works Dakota Creek Matters
A lot of window installation problems don't come from bad products — they come from installers applying generic techniques to a site that has more specific demands than average. Working regularly in the Dakota Creek area and around Blaine means we're used to lots that sit close to the water, wind exposure that's stronger and more consistent than it is a few miles inland, and the kind of prolonged damp weather that punishes any shortcut in flashing detail. That's not a marketing point — it's the reason we don't treat sill pan flashing or WRB integration as optional steps, because we've seen what skipping them costs a homeowner five or ten years down the road in this specific climate.
It also means fewer surprises during the build. We know what inspectors in this area typically want to see at rough-in, we know how local weather affects scheduling around a window install, and we're not learning the site conditions for the first time on your job.
Sequencing and Timeline: What Can Go Wrong When Windows Are Rushed
Window installation on a new build usually has a tight window of its own — it needs to happen after framing is squared up but before the wall closes in, and ideally without a long gap where the opening sits exposed to weather. Rushing this stage is where most of the defects we get called to repair later actually originate:
- Sill pans skipped or installed flat instead of sloped, so water sits instead of draining
- WRB layers taped in the wrong order, directing water behind the barrier instead of over it
- Fasteners missed or under-driven at the flange, leaving the window able to shift or rack over time
- Sealant applied everywhere, including the bottom flange, trapping any water that does get in
- Head flashing left off or installed under the WRB instead of over it
None of these show up on move-in day. They show up as a stain below a window three winters later, or a soft spot in the sill that nobody notices until trim work reveals it. Taking the extra time to sequence the install correctly the first time costs less than any of those fixes.
If you're planning a new build or an addition in the Dakota Creek area and want windows installed by a crew that treats the flashing details as seriously as the windows themselves, we're happy to walk the plans with you and put together a straightforward estimate. No pressure, no upsell — just a clear look at what your project needs. The form below gets you started.