 Blaine Siding
 Building New in Custer Means One Chance to Get Windows Right
Custer sits close enough to the water and far enough into the county's farmland that homes here get the worst of both worlds: salt-laden air rolling in off the Strait and Boundary Bay, and long stretches of driving rain and moss season that don't let up from October through April. When you're building new, the window installation happens once, behind housewrap and trim that won't come off easily later. There's no "we'll fix it during the next remodel." If the flashing, sealant, and rough opening prep aren't correct the first time, you're building a leak path into the wall assembly before the siding even goes on.
New-construction window work is a different job than swapping out an old window in an existing wall. It's earlier in the build sequence, it involves more trades touching the same opening, and it sets the water-management plan for the whole house. We install new-construction windows for builders and homeowners in Custer and across Whatcom County, and we treat the rough opening and flashing detail as the most important part of the job — more important than the window brand itself.
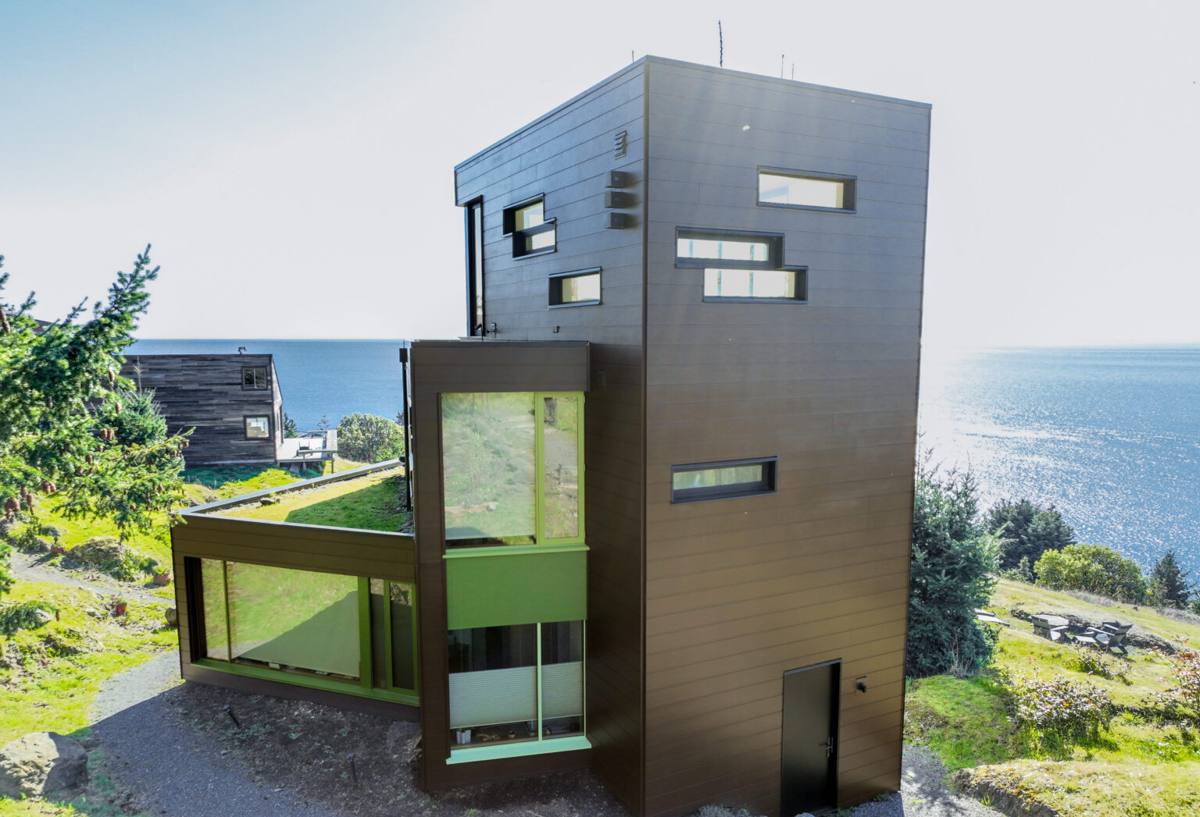
New-Construction vs. Replacement Windows — Why the Distinction Matters
New-construction windows have a nailing fin (sometimes called a flange) around the perimeter of the frame. That fin gets integrated into the water-resistive barrier (WRB) and flashing system before siding goes on, which is what makes them different from "pocket" or replacement-style windows that get inserted into an existing, already-clad wall opening.
The advantage of new construction is that we get to build the drainage plane correctly from scratch — sill pan first, then window, then flashing tape over the fin, integrated top-down with the housewrap so water always sheds outward and downward, never behind the barrier. Get this sequence wrong and you can trap moisture inside the wall where nobody will see it until framing rot or mold shows up years later, usually after the siding and interior finishes are already done.
In a climate like ours, where wind-driven rain is common and humidity stays high for months at a time, that sequencing isn't optional detail — it's the difference between a wall that dries out between storms and one that stays damp.
What Correct New-Construction Installation Actually Involves
Sill Pan and Sloped Sill
Every rough opening should get a sloped sill pan, not just a flat strip of flashing tape. Water that gets past the window — and some always will, over a building's life — needs somewhere to go besides straight down into the framing. A properly sloped pan directs it back outside.
Flashing Sequence
Flashing goes in a specific order: sill first, then jambs, then head, each piece lapping the one below it like shingles so water is always directed outward. The window's nailing fin gets sealed and taped into this same sequence, then the WRB laps over the top flashing last. Skipping the order, or taping over housewrap instead of lapping under it at the head, is one of the most common ways a "new" window ends up leaking within a few years.
Sealant and Backer Rod
Interior and exterior sealant joints need the right sealant for the substrate, proper joint depth, and backer rod where gaps are wide enough to need it. Too much caulk smeared over a bad flashing job hides a problem instead of solving it.
Fastening and Shimming
Windows get shimmed plumb, level, and square at the fastening points the manufacturer specifies — not just at the corners. An out-of-square frame stresses the sash, causes premature seal failure on double- or triple-pane glass, and can make windows hard to operate within a year or two.
Framing and Rough Opening Considerations for Whatcom County Builds
Rough openings need to be sized to the window manufacturer's specification, with enough tolerance for shimming but not so much that you're fighting a gap-filling problem later. In our climate, we also pay attention to a few things that matter more here than in drier regions:
- Housewrap lapped and taped correctly at every seam, not just stapled and left — moss and algae growth on a wall face over time is often a sign water has been sitting somewhere it shouldn't.
- Adequate overhangs or head flashing on south- and west-facing openings, which take the brunt of wind-driven rain off the water.
- Corrosion-resistant fasteners and flashing components, since salt air accelerates corrosion on the wrong metal combinations faster than people expect.
- Drainage gap or rainscreen behind the siding where the design calls for it, so any incidental moisture behind the cladding has somewhere to go besides the window flashing.
Choosing a Frame and Glass Package for This Climate
New construction is the right time to think about frame material and glass performance, because you're not constrained by an existing opening. Here's how the common options stack up for a Whatcom County build:
| Frame Material | Moisture Behavior | Maintenance | Typical Fit |
|---|---|---|---|
| Vinyl | Won't rot; seams need good welds to stay watertight | Low — occasional cleaning | Most cost-conscious new builds |
| Fiberglass | Very stable in wet/dry cycling; dimensionally consistent | Low | Higher-end builds, larger openings |
| Wood-clad | Good if cladding and flashing details are correct; exposed wood interior needs interior humidity control | Moderate — exterior clad, interior wood finish upkeep | Traditional or high-end interior look |
| Aluminum | Conducts cold, prone to condensation without thermal break | Low | Less common for residential in this climate |
For glass, we typically recommend double-pane with low-E coating and argon fill as the baseline for new Custer builds, with triple-pane worth discussing on north-facing rooms or if you want a noticeably quieter house. The U-factor and solar heat gain coefficient matter more than most homeowners expect for comfort near large window walls — a builder-grade package that looks fine on paper can still leave a room feeling drafty in a January windstorm.
How Our New-Construction Window Process Works
- Plan review and takeoff. We work from your builder's plans or your own drawings to confirm window sizes, swing/operation types, and rough opening dimensions before anything is ordered.
- Coordination with framing and WRB installers. We time our work with the framer and whoever is installing housewrap so the sequence — sill pan, window, flashing, WRB lap — happens in the right order without gaps in the schedule.
- Sill pan and flashing installation. Every opening gets a sloped sill pan and a full flashing sequence before the window is set.
- Window setting, shimming, and fastening. Windows are set plumb, level, and square, then fastened per manufacturer spec.
- Exterior and interior sealant. Sealant joints are finished on both sides once the frame is secure.
- Walkthrough and documentation. We check operation, look at every flashing lap, and photograph the work behind the WRB before siding covers it — that record is worth having if a warranty question ever comes up.
Working Alongside Your Builder or General Contractor
Most new-construction window jobs in Custer come through a general contractor or as part of a larger build. We're used to working inside someone else's schedule — showing up when the rough opening is framed and ready, coordinating with the WRB and siding crews so nobody's waiting on us, and communicating directly with the GC on any framing discrepancies before they become an installation problem. If you're an owner-builder managing your own trades, we can work the same way directly with you, including flagging rough opening issues back to your framer before we install rather than papering over them with extra shims and sealant.
Checklist: What to Confirm Before Windows Go In
- Rough openings measured and match the ordered window sizes, with correct tolerance for shimming
- Housewrap installed and lapped correctly around each opening, ready for flashing integration
- Sill pan flashing planned for every opening, sloped to drain outward
- Window schedule confirms swing direction, tempered glass locations (near doors, low sills, wet areas), and any egress requirements for bedrooms
- Fastener and flashing components specified as corrosion-resistant for our coastal air
- Timeline coordinated with framing, WRB, and siding crews so windows go in without a weather-exposed gap sitting open for weeks
Why It Matters to Hire a Crew That Already Works Custer
Custer isn't a big town, but building here comes with its own rhythm: permitting through Whatcom County, weather windows that close fast once the fall rains set in, and a building stock that has to hold up to salt air and moss the way inland construction doesn't. A crew that's done new-construction window installs in this area knows to push for corrosion-resistant hardware without being asked, knows how fast a rough opening left exposed can take on water during an actual Pacific Northwest storm, and paces the schedule around that reality instead of learning it the hard way on your house. That local pattern recognition is worth more than any single product spec sheet.
Ready to Talk Windows for Your Custer Build?
If you're framing a new home or addition in Custer and want the window installation done right the first time — correct flashing sequence, the right frame and glass package for our climate, and a crew that coordinates cleanly with your other trades — we're happy to walk through your plans. Reach out for a free, no-pressure estimate using the form below.