 Blaine Siding
 Why Birch Bay Siding Wears Differently Than Homes Just a Few Miles Inland
Birch Bay sits right on the water, and that changes what siding has to survive. Homes just a short drive inland in Whatcom County deal with rain and cold, but Birch Bay siding also takes on salt-laden air blowing off the water, near-constant wind exposure, and long stretches of damp shade where moss and algae get a foothold and never really dry out. Over years, that combination finds every weak point in a siding system — a nail head that wasn't sealed, a seam that wasn't caulked correctly, a piece of trim that was never flashed at all.
We're not describing a worst-case scenario. This is normal, expected wear for a waterfront and near-waterfront community in this part of Washington. The siding itself isn't necessarily failing because it was a bad product — it's failing because it was never installed, sealed, or maintained with this specific exposure in mind. That's the gap a local repair crew is supposed to close.
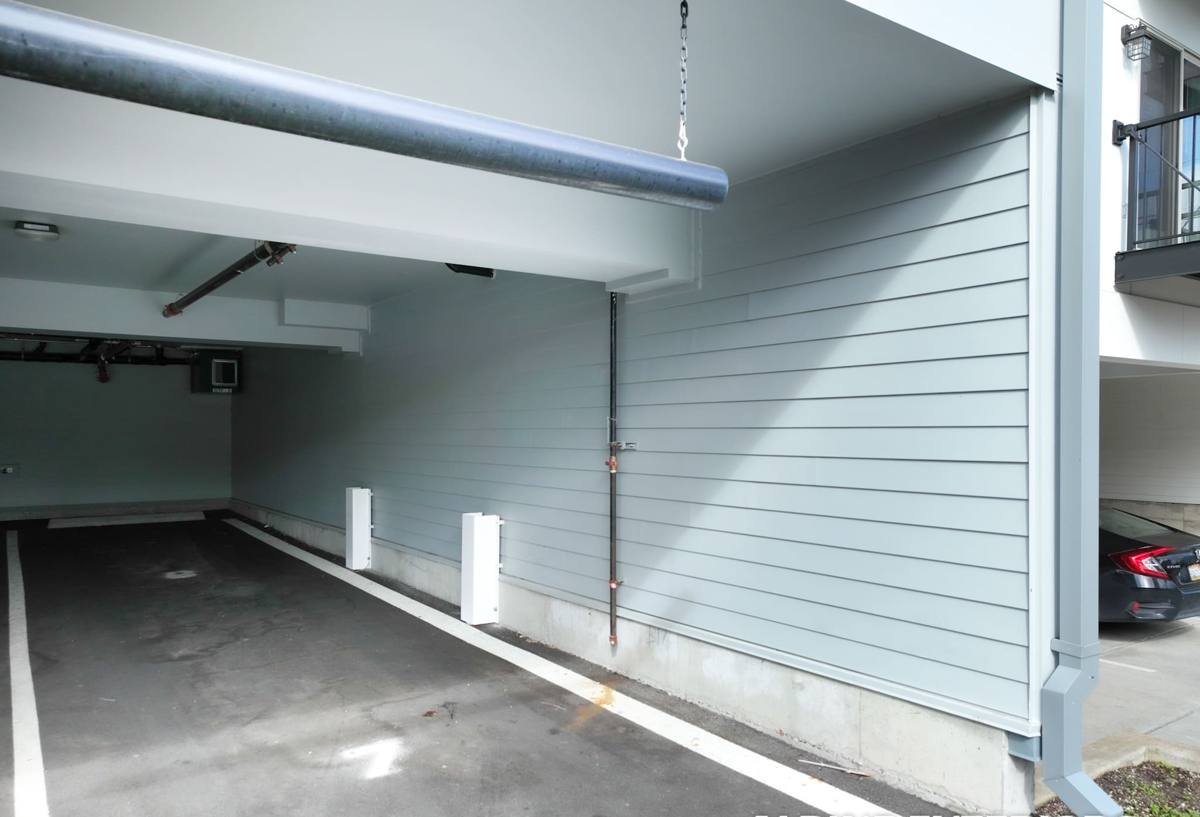
What Salt Air, Driving Rain, and Moss Season Actually Do to Siding
Salt Air
Airborne salt is corrosive to metal fasteners, flashing, and trim connectors. When those components corrode, they stain the siding around them, lose their grip, or stop shedding water the way they're supposed to. Salt exposure also breaks down some paint and coating systems faster than a standard exterior product rating accounts for, especially on the water-facing side of a house.
Driving Rain
Wind-driven rain off the bay doesn't fall straight down — it gets pushed sideways into seams, laps, and butt joints that were designed for gravity, not lateral pressure. If a house wasn't detailed with that in mind, water finds its way behind the siding at exactly the joints a repair crew ends up opening back up years later.
Moss Season
Shaded, north-facing, and tree-adjacent walls in this climate can stay damp for months at a time. Moss and algae hold moisture against the siding surface far longer than open, sun-exposed walls do. On some siding materials that's mostly cosmetic. On others, especially wood-based products, it accelerates rot right at the point of contact.
Signs a Birch Bay Home Actually Needs Siding Repair
Most homeowners don't call about siding until something looks obviously wrong, but the damage usually started long before that. Here's what we tell Birch Bay homeowners to walk their exterior and check for, especially on the side of the house that faces the water or prevailing wind:
- Soft or spongy spots when you press on the siding, especially near the bottom courses
- Visible gaps, cracks, or separation at seams, corners, and butt joints
- Paint that's bubbling, peeling, or chalking heavily in one specific area rather than evenly
- Dark streaking or staining running down from nail heads, trim, or flashing
- Persistent moss or algae growth that comes back within weeks of cleaning
- Warping, cupping, or bowing boards, particularly on shaded or wind-facing walls
- Rust bleeding through paint near fasteners or metal flashing
- Interior signs — a musty smell, peeling interior paint, or a soft spot on an exterior-facing wall
Any one of these can be minor. Several of them together, especially clustered on one elevation, usually mean water has been getting behind the siding for a while.
What a Correct Siding Repair Actually Involves
A siding repair that's done right is not just cutting out a damaged board and nailing in a new one. That approach hides the symptom and leaves the cause in place, which is exactly how the same section of wall ends up needing repair again two or three years later. A repair we're willing to put our name on includes:
Finding the Actual Water Path
Before anything gets replaced, we open up the damaged area enough to see where water is actually getting in — a failed seam, missing flashing, a caulk joint that dried out, or a fastener that was never sealed. Replacing the visible board without finding this doesn't fix anything.
Checking What's Behind the Siding
Siding is the outer layer of a moisture management system, not the whole system. We check the house wrap or building paper, the sheathing, and the framing in the repair area for soft spots or rot. If the substrate is compromised, that gets addressed before new siding goes back on — otherwise you're fastening a repair to something that can't hold it.
Correcting Flashing and Drainage, Not Just Patching
A large share of the repair calls we see in this area trace back to missing or undersized flashing at windows, doors, trim transitions, and butt joints — the exact spots where wind-driven rain gets pushed sideways. A proper repair re-flashes those points so water sheds outward instead of collecting behind the wall.
Matching Material and Finish
Whatever the existing siding is, a visible patch job with mismatched material, profile, or paint sheen is a giveaway that corners were cut. We match profile and reveal as closely as the existing product allows, and where an exact match isn't realistic, we say so upfront rather than let it be a surprise at the end.
Repair or Replace: How We Help You Decide
Not every damaged section needs a full re-side, and not every repair is worth doing on its own. The right call usually comes down to how much of the house is affected and what's causing the damage in the first place.
| Situation | Usually Points Toward | Why |
|---|---|---|
| Isolated damage on one wall or trim section, sound siding everywhere else | Targeted repair | The failure is local (flashing, a seam, a fastener) and the rest of the siding is still doing its job |
| Repeated repairs to the same wall over a few years | Full section replacement | Recurring failure usually means an underlying design or substrate issue that patching alone won't solve |
| Rot or soft sheathing found in multiple areas during inspection | Broader replacement, sometimes whole-house | Widespread moisture intrusion means the whole assembly, not just the siding, needs attention |
| Siding is an older wood or composite product nearing the end of its service life | Planned replacement | Repair cost starts to approach replacement cost with a much shorter remaining lifespan |
| Cosmetic wear only — moss, staining, chalking paint, no soft spots | Cleaning and maintenance | No active water intrusion, so a full repair isn't yet necessary |
We'll always give you the honest version of where your house falls on that table, not the version that leads to the biggest invoice.
Why We Repair (and Recommend) James Hardie Fiber Cement Specifically
We only install James Hardie fiber cement siding, and that standard shapes how we approach repair work too. When we're called out to a Birch Bay home with vinyl, LP SmartSide, cedar, primed spruce, or another fiber cement brand, we'll still assess and repair it honestly — but we'll also tell you plainly where that material's limits are in this specific climate, because that's part of doing the job right.
Wood-based and engineered wood products are the ones most vulnerable to the moss-season problem described above — sustained dampness at seams and cut edges is where rot gets started, and once it's in the substrate, a surface repair doesn't stop it. Vinyl handles moisture fine but can crack, warp, or fade under sustained wind and salt exposure, and once a panel is discontinued, exact color matching becomes difficult to impossible.
James Hardie fiber cement doesn't rot, and it's non-combustible, which matters on a property that also has to deal with wildfire smoke and ember exposure during dry summer stretches. Its ColorPlus factory finish is baked on and warranted separately from the substrate, which means a repair patch can be color-matched far more reliably than field-painted siding years after the original install. When we do repair Hardie siding, we're usually dealing with an installation detail — flashing, caulking, a fastener — rather than the material itself failing.
This isn't a sales pitch tacked onto a repair page. It's the same standard that determines what we'll put on a house when a repair isn't enough and it's time to replace a section or the whole exterior.
Our Repair Process for Birch Bay Homes
- On-site inspection. We walk the exterior, focusing first on water-facing and shaded elevations, and identify every area showing damage or risk, not just the spot you called about.
- Open and assess. We open the affected area to check sheathing, house wrap, and framing before quoting anything — a repair estimate without this step is a guess.
- Honest scope and options. You get a clear explanation of what's causing the damage, what repair actually involves, and whether repair or partial/full replacement makes more sense for your situation and budget.
- Correct the water path first. Flashing, seams, and drainage details get fixed before or as part of the siding work — not as an afterthought.
- Match and finish. New material is matched as closely as possible to profile, reveal, and color, and the work area is cleaned up when we're done.
Why a Crew That Already Works Birch Bay Matters
Siding repair advice that's generically correct can still be wrong for a specific house on this stretch of coastline. A crew that's already worked in Birch Bay knows which elevations tend to take the worst of the wind and salt, how long moss season realistically lasts here compared to more sheltered parts of Whatcom County, and how to schedule repair work around the weather windows that actually exist in this area rather than a generic Pacific Northwest forecast. That local pattern recognition is what turns a repair into a lasting fix instead of a guess that gets tested by next winter's storms.
It also means fewer surprises during the job itself. Homes near the water in this area often have quirks in how they were originally built or previously patched, and a crew that's seen that pattern before knows what to check for before it becomes a change order.
Maintenance That Extends the Life of a Repair
A good repair lasts a lot longer with a small amount of upkeep, especially in a salt-air, high-moss environment:
- Rinse salt residue and grime off the siding periodically, particularly on water-facing walls
- Keep gutters clear so water isn't overflowing down the siding face
- Trim back vegetation that's holding moisture or shade against a wall
- Re-caulk seams and trim joints on the schedule the manufacturer recommends, not just when they visibly fail
- Walk the exterior once or twice a year and press-test any area that looks discolored or has visible moss
None of this is complicated, but it's the difference between a repair that holds for decades and one that quietly starts failing again in three or four years.
Get an Honest Look at Your Siding
If you're seeing soft spots, staining, persistent moss, or gaps anywhere on your Birch Bay home's exterior, it's worth having someone look at it before winter's driving rain finds every weak point on its own. We'll give you a straight assessment of what's actually happening, what it will take to fix it correctly, and what your realistic options are — no pressure, no inflated scope. Use the form below to request a free estimate.