 Blaine Siding
 Birch Point Sits Closer to the Weather Than Most of Blaine
Birch Point is one of those pockets of Whatcom County where the house next to the water and the house three streets back can be dealing with two different climates. Homes closer to the shoreline take more direct wind off the water, more salt in the air, and less shelter from the driving rain that rolls through in fall and winter. That's not a knock on the neighborhood — it's just what comes with a waterfront-adjacent setting near Blaine. It also means siding here ages differently than siding on a sheltered lot a mile inland, and repairs that ignore that difference tend not to last.
We've worked enough homes in this pocket of the county to know what shows up first: caulk lines that give out early, paint that chalks and fades faster on the weather-facing walls, and moss that colonizes north-facing trim before anyone notices it's there. None of that is unusual for the area. What matters is whether a repair addresses the cause or just patches the symptom.
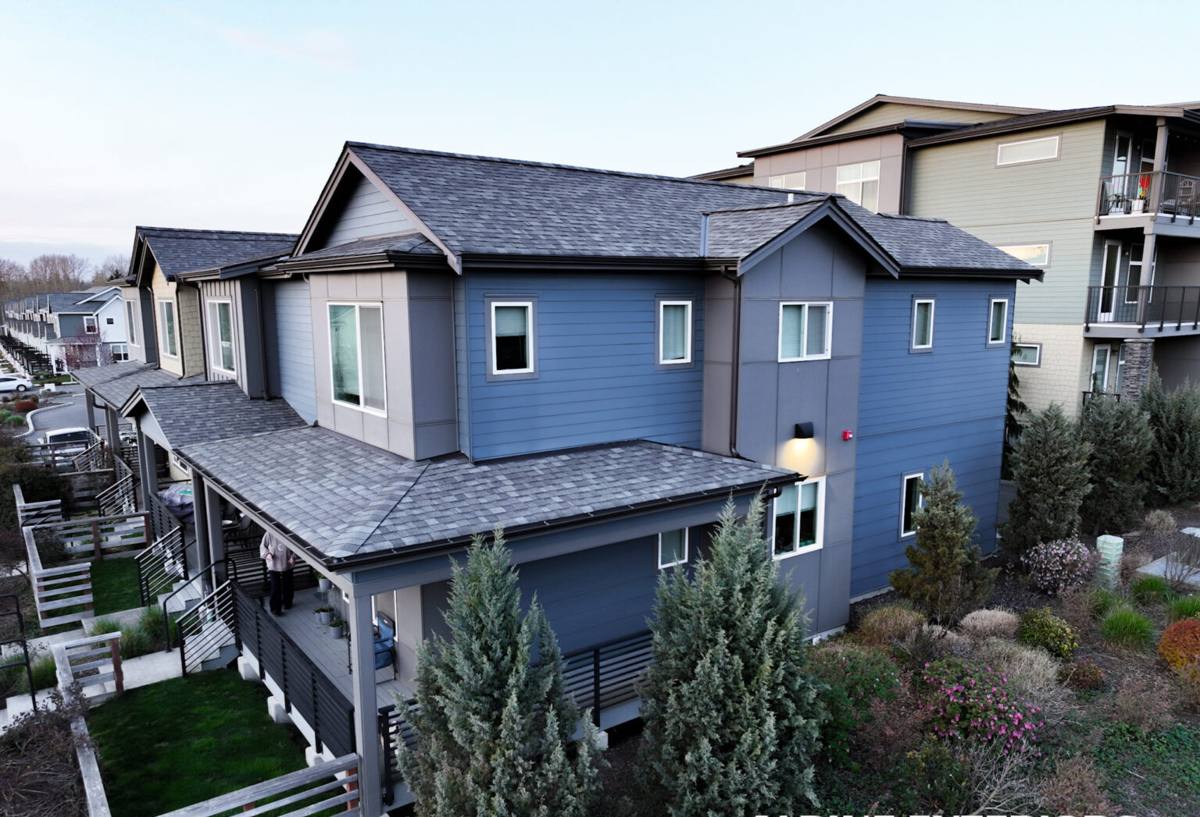
What Salt Air, Driving Rain, and Moss Actually Do to Siding
Each of these three factors attacks siding a different way, and understanding the mechanism is what separates a repair that holds up from one that fails again in a year or two.
Salt Air
Airborne salt is corrosive to exposed metal — nail heads, flashing, fasteners, hose bibs, light fixtures — and it also draws moisture. Salt is hygroscopic, meaning it pulls humidity out of the air and holds it against whatever surface it's settled on. On siding, that means slightly damp conditions persist longer than they would inland, even on days that look dry. Over years, that constant low-grade moisture exposure accelerates paint breakdown and, on the wrong substrate, can accelerate rot.
Driving Rain
Blaine and the surrounding Whatcom County coastline get plenty of rain that doesn't fall straight down — wind pushes it sideways into wall assemblies, especially on gable ends and upper stories with less roof overhang for protection. Driving rain finds every gap in caulking, every under-lapped seam, and every spot where flashing was installed a half-inch short. It's not the rain itself that causes damage; it's rain that gets behind the siding and has nowhere to drain or dry out.
Moss and Sustained Dampness
Western Washington's long, mild, wet season is close to ideal moss habitat, and Birch Point's shaded and shoreline-adjacent lots often see less direct sun to dry surfaces out between rain events. Moss on siding isn't just cosmetic — it holds moisture directly against the surface for extended periods, which is exactly the condition that causes paint failure and, on wood-based products, deterioration underneath.
Signs a Birch Point Home Needs Siding Repair
Most siding problems give warning before they become structural. Catching them early is the difference between a contained repair and a much larger job.
- Soft or spongy spots when you press on a board, especially near the bottom edge or around window and door trim
- Paint that's peeling, bubbling, or has a chalky residue on your hand when you touch it
- Visible gaps or cracks in caulking at seams, corners, and trim joints
- Moss or algae buildup that keeps returning to the same spots after cleaning
- Staining or dark streaks running down from behind gutters, flashing, or trim
- Boards that have visibly cupped, warped, or separated from the wall
- A musty smell or visible moisture on the interior wall directly behind an exterior problem area
Any one of these on its own might be minor. Several showing up in the same area, especially on a wall that takes the brunt of the weather, usually means water has been getting behind the siding for a while.
What a Correct Repair Actually Involves
A siding repair that's done right isn't just swapping a damaged board for a new one. It's an investigation first, then a fix.
Finding the Real Cause
Before any board comes off, we look at what's around it — the flashing above, the caulking at the seams, the grade and drainage below, the gutter or downspout nearby. Damaged siding is usually a symptom. If we replace the board without correcting whatever let water in, the same spot fails again, often faster the second time.
Removing Damaged Material Without Spreading the Problem
Cutting out and removing compromised siding has to be done carefully so it doesn't disturb sound material around it or drive moisture further into the wall assembly. We check the sheathing and weather barrier underneath once the siding is off — that's often the only point in the whole job where you can actually see what's been happening behind the wall.
Flashing and Moisture Barrier Detail
This is where most repair failures actually originate, and it's the step that's easiest to shortcut. Flashing needs to be lapped correctly — upper pieces over lower pieces, always shedding water outward and down — and integrated properly with the weather-resistant barrier behind it. A new board installed over bad flashing looks fine for a season and then starts the whole cycle over.
Fastening, Caulking, and Finish Matching
Correct fastener placement and spacing matters more in a wind-and-salt environment than it does further inland — under-driven or corrosion-prone fasteners fail sooner here. Caulking at seams and trim should be a paintable, exterior-grade sealant applied to a clean, dry joint, not smeared over an existing failure. And on a factory-finished product, matching the new section's color and sheen to weathered existing siding takes attention — it's a common spot where a rushed repair looks patched instead of resolved.
Repair vs. Replace: How We Make the Call
Not every problem area needs a full re-side, and not every home with scattered damage is a good repair candidate. The decision usually comes down to how much of the wall assembly is compromised versus how isolated the issue is.
| Factor | Leans Toward Repair | Leans Toward Replacement |
|---|---|---|
| Extent of damage | Isolated to one or two areas | Spread across multiple walls or elevations |
| Underlying sheathing | Sound, dry when exposed | Soft, stained, or rotted in multiple spots |
| Siding material | James Hardie fiber cement in good condition elsewhere | Original material already near end of service life |
| Cause of failure | A single, correctable defect (flashing, caulk, one bad seam) | Systemic issue — original install lacked proper moisture detailing |
| Age of existing siding | Relatively recent, well-maintained | Original siding is decades old or already patched multiple times |
We'll always tell you honestly which side of that table your home falls on. A targeted repair is the right call more often than not — we're not looking to sell a full re-side when a properly executed repair will hold.
Why We Only Repair and Install James Hardie Fiber Cement
We standardized on James Hardie fiber cement for every home we work on, including repairs, and in a climate like Blaine's that's a deliberate choice, not a default. Fiber cement is non-combustible and doesn't absorb and swell with moisture the way wood-based or wood-composite sidings can, which matters directly in a setting with sustained damp conditions and a long moss season. James Hardie's ColorPlus factory finish is baked on and engineered to hold color and resist the kind of chalking and fading that shows up faster on coastal-exposed walls, and their HZ5 climate-engineered product line is formulated for wetter, cooler regions like the Pacific Northwest rather than a one-size-fits-all national spec.
That's also why we don't install LP SmartSide, vinyl, Cemplank, Allura, primed spruce, or cedar. Each of those products has real strengths, and we're not going to pretend otherwise — but on a repair callback list, the failure patterns we see most often trace back to moisture sensitivity, seam and joint behavior, or finish durability in exactly the conditions Birch Point deals with every winter. Standardizing on one system we trust means our repairs match, blend, and perform the same way the rest of the wall does — instead of patching one material into a wall that was never really built to handle the conditions here.
Our Process for Birch Point Repairs
The process is straightforward, and we keep it that way on purpose.
- Inspection. We look at the damaged area and everything around it — flashing, trim, grade, gutters — to identify the actual cause, not just the visible symptom.
- Honest scope and estimate. We tell you plainly whether it's a contained repair or something bigger, and what it will take to fix it correctly. No pressure toward a full re-side if it isn't needed.
- Careful removal. Damaged siding comes off without disturbing sound material, and we check the sheathing and moisture barrier underneath while it's exposed.
- Correcting the cause. Flashing, sealant, or drainage issues get fixed before anything new goes back on — this is the step that determines whether the repair lasts.
- Installing and finishing. New James Hardie material is fastened to spec, sealed at the joints, and finish-matched as closely as possible to the existing siding.
- Walkthrough. We go over what we found and what we did, in plain terms, before we consider the job done.
Why a Crew That Already Works Birch Point Matters
Repair work is where local experience actually shows up, more than on a full new-construction install. A crew that's already worked shoreline-adjacent lots around Blaine knows to look harder at flashing details on the weather-facing side, knows how fast moss reestablishes in shaded corners here, and knows the fastening and sealant products that hold up against salt air rather than breaking down in a season or two. That's not something you can fully substitute with a general checklist — it's pattern recognition built from doing this work in this specific set of conditions, repeatedly.
It also matters for something more basic: showing up. A crew based in the area isn't juggling a long drive for a follow-up visit if something needs a second look, and they're not guessing at how a repair will hold through the coming winter — they've already seen how last winter treated the siding two streets over.
A few practical things worth asking any contractor before you hire them for repair work in this area:
- Have they worked on homes in this specific area before, and can they speak to what typically fails here first?
- Will they check flashing and moisture barrier condition, or just swap the visible board?
- What fastener and sealant products do they use, and are those products rated for coastal or high-moisture exposure?
- Do they carry proper licensing and insurance for exterior work in Washington?
- Will the repaired section be finish-matched to the surrounding siding, and how do they handle that?
Keeping Repaired Siding in Good Shape Through Moss Season
A correct repair should hold up for years, but a little seasonal attention extends that considerably in this climate. Keep gutters and downspouts clear so water isn't overflowing onto siding below. Trim back vegetation and tree cover where it's keeping a wall shaded and damp longer than necessary — moss needs sustained moisture to take hold, and airflow is the simplest defense. Rinse visible moss or algae growth off before it spreads, using a soft approach rather than a pressure washer aimed directly at seams, which can force water behind the siding instead of removing it. And do a walk-around once or twice a year, particularly after a stretch of hard weather, checking caulk lines and looking for any of the warning signs covered above. Catching a small issue during that walk-around is a lot less costly than finding it after it's spread.
If you're seeing any of these signs on a Birch Point home, or you'd just like an honest opinion on whether a problem area needs a repair or something more, we're happy to take a look. Reach out for a free, no-pressure estimate using the form below.