 Blaine Siding
 Building New in Lynden Means Getting the Window Install Right the First Time
New construction gives you one real chance to install windows correctly — before siding closes everything up and hides the details that matter most. In Lynden, where farmland meets a genuinely wet, marine-influenced climate, that first install has to account for driving rain, seasonal humidity, and the slow creep of moss and mildew that shows up on north-facing walls and shaded rooflines within a year or two of framing. A window that's set square, flashed correctly, and integrated with the weather-resistive barrier will outperform a more expensive window that's installed carelessly, every time.
This page is about one job: installing new-construction windows in new-build homes around Lynden, in Whatcom County. Not replacement windows in an existing wall — new construction, where the window nailing fin gets built into the wall assembly from the start.
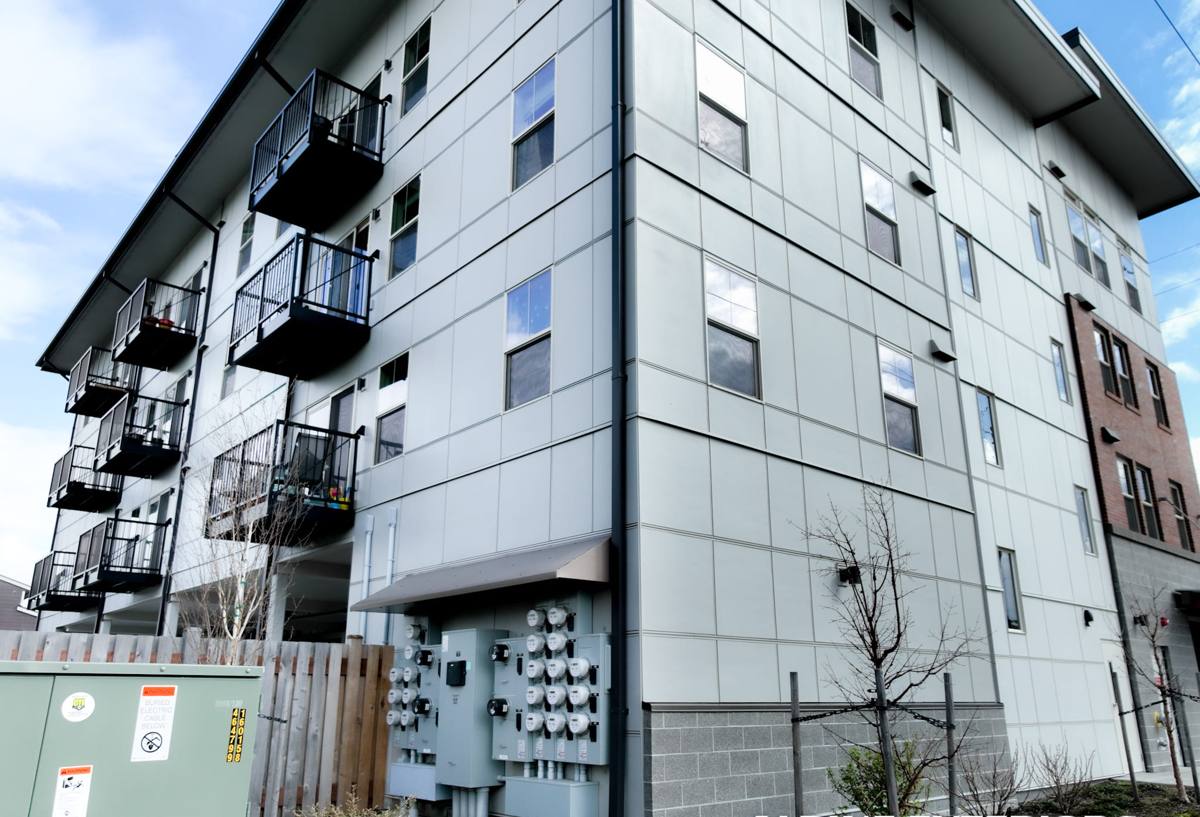
New Construction vs. Replacement: Why the Distinction Matters
New-construction windows have a nailing flange that fastens directly to the sheathing, and the whole assembly gets integrated into the wall's water-management system as it's built — house wrap, flashing tape, sill pans, and eventually siding all layer over and around the window in a specific order. Replacement windows, by contrast, get inserted into an existing frame with no access to the sheathing or flashing layers behind it.
That difference is why new construction is actually the easier job to get right — and the harder one to get away with doing wrong. Every layer is exposed and inspectable during the build. Skipping a step or flashing out of sequence doesn't show up as a leak on day one; it shows up two or three winters later as staining, soft trim, or a musty smell in a wall cavity, usually well after the crew that installed it has moved on.
What "Correct" Actually Means Here
- Rough openings cut and braced to the window manufacturer's specified tolerances, not "close enough"
- A sloped sill pan under every window, so any water that gets past the glazing drains out, not into the wall
- Flashing tape and house wrap integrated in a shingle-lap sequence — each layer overlapping the one below it, so water always sheds downward and outward
- Windows set plumb, level, and square, with shims at the correct load points so the sash operates properly for the life of the house
- Fasteners and sealants matched to the window manufacturer's installation instructions, not a generic caulk-and-nail approach
What Lynden's Climate Actually Demands From This Install
Lynden sits inland from Blaine and the coastline, so it doesn't take the direct salt-laden wind off the Strait the way the waterfront does. But it's still squarely inside Whatcom County's wet maritime pattern, and the same forces that wear down coastal Blaine homes reach Lynden in a different form.
Driving Rain
Whatcom County's winter storms don't just fall straight down — wind-driven rain hits walls at an angle, and windows are the single most common entry point for water intrusion in a new build. A flashing detail that would be fine in a drier climate isn't good enough here. Sill pans and properly lapped flashing tape aren't optional extras on a Lynden build; they're the difference between a window that stays dry for thirty years and one that quietly rots the framing around it.
Moss, Mildew, and the Long Wet Season
The long stretch of overcast, damp weather from fall through spring is what drives moss growth on roofs and north-facing siding across this part of the county, and it puts the same pressure on window sills, trim, and any gap in the water barrier. Organic growth needs sustained moisture, and a poorly flashed window creates exactly the trapped-moisture conditions moss and mildew thrive in — right at the header, sill, or jamb where you can't see it until the damage is already done.
Salt Air, at a Distance
Lynden doesn't get the direct salt exposure that waterfront Blaine properties do, but airborne salt can still travel with weather systems this close to Puget Sound and the Strait. It's a smaller factor here than it is right on the water, but it's still a reason to choose corrosion-resistant fasteners and hardware rather than assuming an inland lot is fully insulated from it.
Choosing a Window Frame Material for This Climate
For new construction, the frame material decision matters more than most homeowners expect, because it determines how the window will hold up to years of moisture cycling, not just how it looks on day one.
| Frame Material | Moisture Performance | Maintenance | Typical Fit for Lynden Builds |
|---|---|---|---|
| Vinyl | Won't rot or corrode; seams are the main point to watch | Low — occasional cleaning | Good value option; solid performer when installed with proper flashing |
| Fiberglass | Excellent — dimensionally stable through wet/dry and temperature swings | Low | Strong choice for exposed elevations and larger openings |
| Wood (unclad) | Requires diligent finish maintenance to resist moisture | High — refinishing on a schedule | Best reserved for protected elevations; higher upkeep in this climate |
| Wood-clad (aluminum or fiberglass exterior) | Good — cladding shields the wood from direct weather | Moderate | Popular where a wood interior look is wanted with less exterior upkeep |
We don't push one brand or material on every job. What we do insist on is matching the window's moisture tolerance to where it's going on the house — a north-facing wall that stays damp longer needs a more forgiving material than a sheltered, sun-exposed elevation.
How the Install Sequence Works on a New Build
Getting new-construction windows right is as much about sequencing as it is about the windows themselves. On a Lynden build, our process looks like this:
1. Rough Opening Review
Before a single window arrives on site, we check rough openings against the actual window schedule — size, swing direction, and manufacturer tolerances. Catching a framing error here costs an hour; catching it after siding is up costs a callback.
2. House Wrap and Sill Pan
The weather-resistive barrier goes on first, then a sloped sill pan at each opening so any water that reaches the sill drains back out over the exterior face, not down into the wall cavity.
3. Setting the Window
The window is set plumb, level, and square, shimmed at the manufacturer's specified points, and fastened through the nailing fin per spec — not just tacked in place.
4. Flashing Integration
Flashing tape goes over the fin at the sides, then the head flashing laps over both, and the house wrap above laps over the head flashing — a shingle-style sequence from the bottom up, so water always moves down and out.
5. Siding Tie-In and Final Seal
Once siding closes in around the window, we confirm trim and sealant details tie back into that same drainage plane rather than relying on caulk alone to do the job flashing should have already done.
Mistakes We See on New Builds — and Why They Cost More Later
- Skipped sill pans — the single most common shortcut, and the one most likely to cause rot inside the wall years later
- House wrap taped over the fin instead of under it at the head — reverses the drainage path and traps water instead of shedding it
- Caulk used as a substitute for flashing — sealant fails long before properly lapped flashing does, and it's invisible once siding is up
- Windows shimmed only at the corners — leads to sash binding and operational problems within a few years
- Fasteners that don't match the window manufacturer's spec — can void warranty coverage without the homeowner ever knowing
What This Costs, and What Drives the Number
New-construction window installation is typically priced per opening and scales with a handful of factors, not a flat per-window rate. Rough figures depend heavily on window size, quantity, and frame material — we'll give you a real number after seeing the plans, not a guess over the phone.
| Cost Factor | Why It Moves the Price |
|---|---|
| Window count and size | More openings and larger units mean more material and labor per house |
| Frame material | Vinyl, fiberglass, and wood-clad carry different material costs |
| Elevation exposure | Openings on weather-exposed walls may warrant upgraded flashing details |
| Access and building height | Second-story and hard-to-reach openings add labor time |
| Timeline coordination | Working around your framer's and siding crew's schedule affects sequencing |
Why Hiring a Crew That Already Works in Lynden Matters
A crew that installs windows across Whatcom County's new-build sites year-round already knows how this climate behaves — which elevations take the worst of the driving rain, where moss shows up first, and what flashing details actually hold up through a full wet season rather than just passing a walk-through. That's not something you can fully spec on paper; it comes from doing the work here, repeatedly, and seeing which details hold up and which don't.
We also coordinate directly with framers and siding crews on new builds, which matters because window installation sits right at the seam between those two trades. A window installer working in isolation, without talking to whoever's doing the siding tie-in, is where a lot of these problems start.
If you're framing or planning a new build in Lynden, we're happy to walk the plans with you and give you a straightforward, no-pressure estimate — just fill out the form below to get started.