 Blaine Siding
 Siding Repair in Everson Starts With Understanding the Climate
Everson sits in Whatcom County, and like the rest of the region, it deals with a long wet season, driving rain that comes in sideways during winter storms, and stretches of humid, shaded weather that let moss and algae take hold on north-facing walls. Homes here don't fail because siding is a bad idea — they fail because water finds a way behind the siding and stays there longer than it should. That's the pattern we see over and over on repair calls: not one big catastrophic event, but months or years of moisture working into a seam, a nail hole, or a piece of trim that was never properly flashed.
A repair done right in this climate isn't just about making a wall look presentable again. It's about closing off the path water was using to get in, and making sure the fix doesn't create a new one. That's a different mindset than a quick patch job, and it's the standard we hold repair work to on every Everson property we work on.
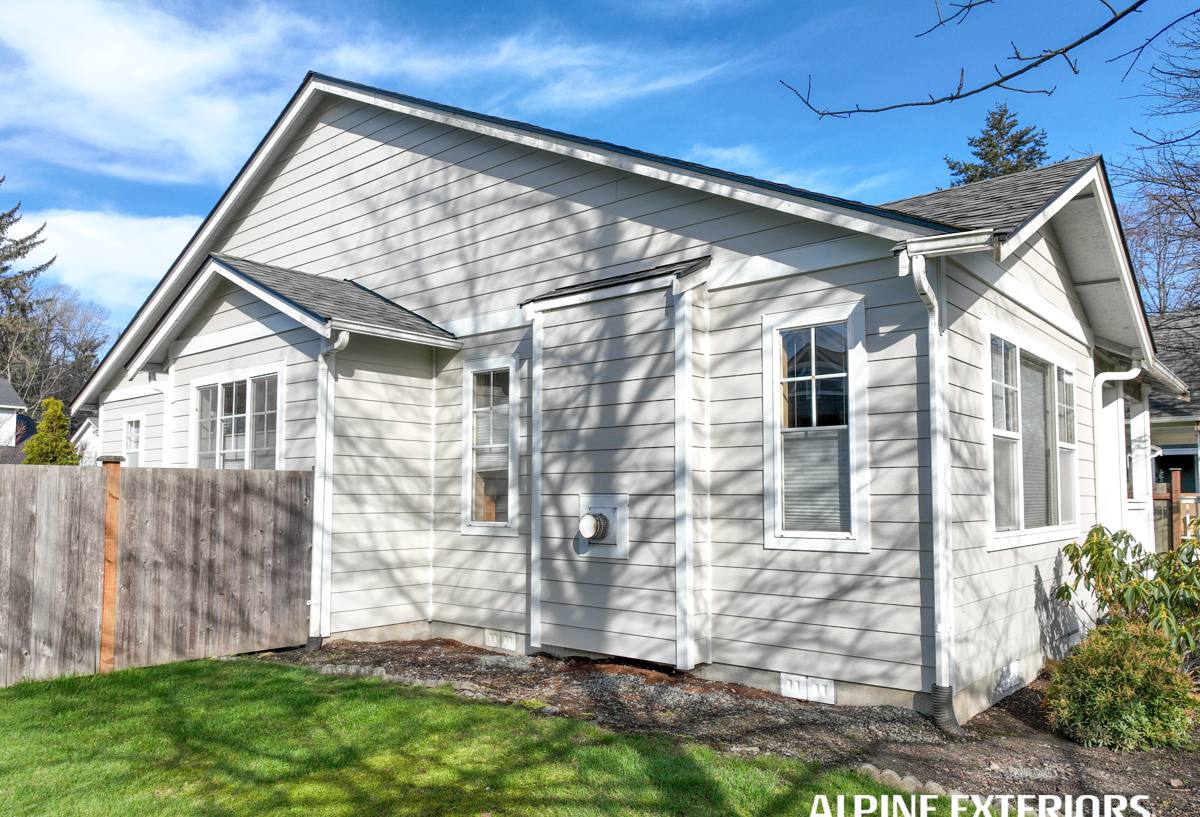
Signs Your Everson Home Needs Siding Repair, Not Just Paint
A lot of siding problems get treated as cosmetic issues when they're actually early warnings. Repainting over a soft board or a swelling seam buys a season or two, but it doesn't fix anything underneath. Here's what we tell Everson homeowners to watch for:
- Soft or spongy spots when you press on a wall, especially near the bottom courses or around windows
- Panels that have visibly bowed, cupped, or pulled away from the wall
- Persistent moss or dark streaking that comes back within weeks of cleaning
- Caulk lines that have cracked, shrunk, or separated from the siding edge
- Paint that's bubbling, peeling, or flaking in a localized area rather than evenly across the whole house
- Visible gaps at trim boards, corner posts, or where siding meets the roofline
- A musty smell in an adjacent interior room, which often means moisture has already reached the sheathing
Any one of these on its own might be minor. Two or three together, especially in the same area of the house, usually means water has been getting behind the siding for a while.
What's Actually Causing the Damage
Moisture Behind the Cladding
The biggest culprit in this climate is trapped moisture, not the rain itself hitting the siding. Water gets in through a failed seam, a missing kick-out flashing, or caulk that's given out, then it can't dry out fast enough between storms because the weather stays damp for so much of the year. That trapped moisture is what rots wood-based siding, delaminates cheaper composite products, and eventually stains or blisters paint from the inside out.
Moss, Algae, and Constant Shade
Everson's tree cover and the region's overcast stretches mean a lot of homes have at least one wall that rarely gets direct sun. Those walls hold moisture longer, grow moss and algae faster, and age at a different rate than the sunny side of the same house. Repairs on shaded walls need to account for that difference, or the same staining and softening comes right back.
Original Installation Shortcuts
A fair amount of what we repair traces back to how the siding was installed in the first place — panels nailed too tight, missing or undersized flashing, caulk used in place of proper flashing details, or siding installed tight to grade where it can wick moisture up from the soil. These aren't defects you can see from the ground, which is why an honest inspection matters more than a quick estimate over the phone.
What a Correct Siding Repair Involves
A proper repair isn't just cutting out the bad section and nailing up something new. It involves a few steps that are easy to skip if a contractor is trying to move fast:
- Confirm the extent of the damage. Damage almost always extends a little past what's visible. We check the framing and sheathing behind the affected area, not just the siding surface.
- Identify and fix the water source. Replacing siding without correcting the flashing, caulk joint, or grading issue that let water in means the repair fails again on the same schedule.
- Address any rot or moisture in the sheathing. If the substrate underneath is compromised, that gets dealt with before new siding goes back up — covering it doesn't solve it.
- Match materials and profile. Reworked sections need to match the existing siding's exposure, profile, and finish closely enough that the repair doesn't stand out as a patch.
- Reinstall with correct flashing and fastening. This is where a lot of the original problem started, so it's not a step we shortcut on the way back.
- Final check of caulk joints and paint lines. A repair that looks finished but has a gap at the trim is a repair that will need to be done again.
Repair or Replace? How We Make That Call for Everson Homes
Not every damaged section needs a full re-side, and not every "small" repair is actually small once you open the wall up. We give homeowners a straight answer based on what we find, not a bias toward the bigger job. Here's generally how the decision breaks down:
| Factor | Points Toward Repair | Points Toward Full Replacement |
|---|---|---|
| Damage location | Isolated to one or two areas | Spread across multiple walls or elevations |
| Underlying sheathing | Dry, sound framing behind the siding | Rot or moisture damage found in more than one spot |
| Age of existing siding | Siding is still within its useful service life | Siding is near or past the age where the whole system is degrading |
| Material match | Existing product or a close match is still available | Product is discontinued or the color/texture can't be matched |
| Root cause | Cause is a single, fixable detail (flashing, caulk, one bad panel) | Cause is systemic — original installation or product-wide moisture issues |
Where the damage is contained and the framing underneath is still sound, repair is the honest, cost-effective answer. Where we open a wall and find the same moisture problem in multiple places, telling a homeowner to keep patching would just be spending their money to delay a bigger conversation.
Our Process, Start to Finish
For an Everson repair, the process is straightforward and we keep homeowners informed at each step:
- Inspection: We look at the damaged area and the surrounding siding, checking for how far the problem actually extends before we quote anything.
- Diagnosis: We explain what caused the damage in plain terms — flashing failure, caulk failure, moisture wicking, or something else — so the fix addresses the cause, not just the symptom.
- Written estimate: A clear scope of work and price before anything is touched, including whether we recommend repair or think replacement makes more sense.
- The repair itself: Removal of the damaged section, correction of the underlying issue, and reinstallation with proper flashing and fastening.
- Final walkthrough: We review the completed work with the homeowner and point out anything else worth keeping an eye on.
Why We Repair With James Hardie Products
We install James Hardie fiber cement exclusively, and that applies to repair work too. When a section of Hardie siding needs replacing, we use Hardie product to make the repair — factory-baked ColorPlus finish that matches the existing color line, and a fiber cement panel that handles the same moisture cycle as what's already on the wall. That consistency matters: mixing a different siding material into a repair, even a similar-looking one, means mismatched expansion, moisture behavior, and finish weathering over time, which usually shows up as a visible seam or a spot that ages differently than the rest of the house.
We also get called on to repair homes sided in other products — vinyl, LP SmartSide, cedar, or older fiber cement brands. In those cases we're upfront about the limits of a patch: we can fix the immediate problem, but we won't tell a homeowner that mixing in a different product line is a long-term fix if the underlying material is nearing the end of its service life. When a homeowner is facing repeated repairs on a product that keeps failing in the same way, that's usually the point where a conversation about replacing with Hardie makes more sense than another patch.
Why a Blaine-Based Crew Matters for Everson Specifically
A repair crew that already works around Whatcom County knows what a wet winter does to a north wall, what a shaded lot does to paint, and how local grading and drainage tend to play into siding problems. That's not something you get from a crew driving in from out of the area for a one-off job. Being close by also means we can get to an active water intrusion problem faster, follow up if something needs a second look after the next storm, and stand behind the work because we're not far away. For homeowners, that local accountability is worth as much as the repair itself.
Simple Maintenance That Extends the Life of a Repair
Once a repair is done right, a little seasonal attention keeps it — and the rest of the siding — in good shape:
- Rinse off moss and algae buildup before it gets thick enough to hold moisture against the siding
- Check caulk joints at trim, windows, and corners once a year and re-caulk anything that's cracked or gapped
- Keep gutters clear so overflow isn't running down the wall during heavy rain
- Trim back vegetation that's shading a wall or holding moisture against the siding
- Walk the exterior after major storms and look for anything new — a lifted panel, a fresh stain, a soft spot
If you're seeing any of the warning signs above on an Everson home, or you just want an honest opinion on whether a section needs repair or the bigger picture points toward replacement, we're happy to take a look. Reach out for a free, no-pressure estimate using the form below.