 Blaine Siding
 Building New in Everson: What Whatcom County's Climate Asks of Your Windows
Everson sits inland from Blaine but still shares the same weather pattern that defines this corner of Whatcom County: long stretches of driving rain off the Strait of Georgia, a moss season that can run eight months out of the year, and salt-laden air that travels further inland than most homeowners expect. When you're framing a new home or an addition, the windows you choose and how they're installed will decide whether that house stays dry and comfortable for the next thirty years or starts showing rot and seal failure inside of ten.
New-construction window work is different from a replacement job, and it's worth understanding why before your framer ever sets a rough opening. This page is about that distinction, and about what it takes to get new windows right the first time in a building that's still being built around them.
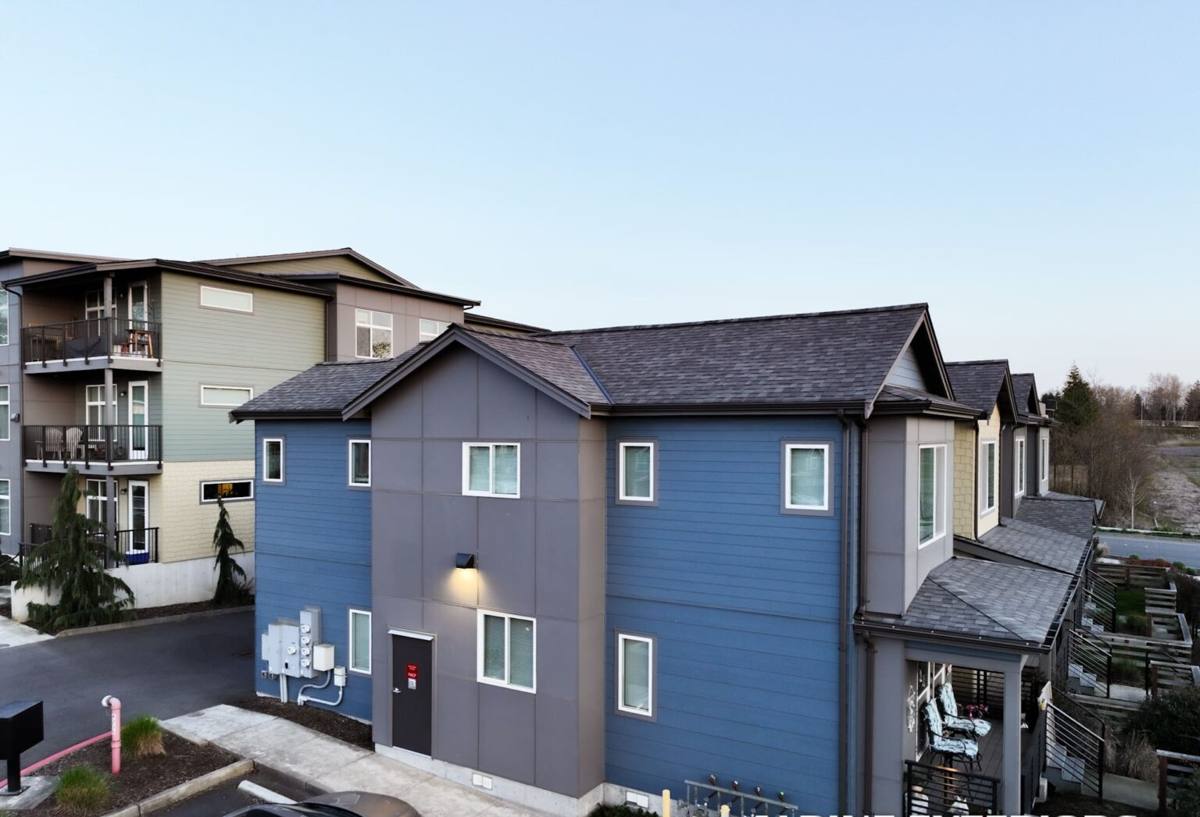
New-Construction vs. Replacement Windows: Why the Distinction Matters
A "new-construction" window has a nailing flange around its perimeter that gets fastened directly to the sheathing before siding and trim go on. A "replacement" or "pocket" window, by contrast, is built to slide into an existing frame with no flange, because the surrounding wall is already finished. These are not interchangeable products, and installing the wrong type — or installing the right type incorrectly — is one of the more common and expensive mistakes we see corrected on newer homes in this area.
Because a new-construction window is installed before the wall is closed up, it gives us direct access to the weather-resistive barrier (WRB), the sheathing, and the rough opening itself. That access is an advantage in a climate like ours — it means the water management plane can be built correctly from the studs out, rather than patched around an existing window years later. It's also the reason new-construction installs, done right, tend to outperform retrofits in wind-driven rain events.
Why This Matters More in Everson's Weather
Whatcom County doesn't get the volume of rain some coastal areas do, but it gets a lot of horizontal rain — wind-driven moisture that hits window openings sideways rather than falling straight down. A flanged window integrated properly with the WRB and flashed with the right shingle-lap sequence handles that kind of weather. A window that's just caulked around the edges, or flashed out of sequence, will eventually let water behind the siding — and in a house with fresh framing, that's water getting into wood that hasn't had decades to season and shed moisture the way older growth lumber does.
What a Correct New-Construction Window Install Involves
There's a specific sequence to this work, and skipping steps or doing them out of order is what causes callbacks. On every new-construction opening, the work generally follows this order:
- Rough opening is checked for square, level, and correct dimensions before the window ever shows up on site.
- Sill pan flashing is installed first, sloped to drain outward, so any water that does get past the window has somewhere to go besides the framing.
- Window is set, shimmed level and plumb, and fastened through the nailing flange per the manufacturer's schedule — not just at the corners.
- Side flashing goes over the flange, then head flashing goes over the top flange and under the housewrap above it — always shingle-style, so water sheds downward and outward at every layer.
- Housewrap is integrated back over the flashing and taped at seams, restoring a continuous drainage plane before siding goes on.
- Interior and exterior sealants are applied at the specified points only — over-sealing a window (caulking everything solid) can trap moisture instead of letting it drain, which is a mistake we see fairly often on owner-built additions.
Every one of these steps matters on its own, but the sequence matters just as much. Head flashing installed under the side flashing instead of over it, for example, will funnel water directly into the wall instead of around it — and it won't show up as a problem until the first real storm season, sometimes longer.
Choosing Windows and Glass for This Climate
Everson's weather isn't extreme, but it's persistent — damp air, moss growth on anything that stays shaded and wet, and salt air drifting in off Semiahmoo Bay and the Strait that accelerates corrosion on hardware and fasteners over time. That combination pushes us toward certain material and glass choices for new builds in this area.
| Factor | What We Look For | Why It Matters Here |
|---|---|---|
| Frame material | Vinyl or fiberglass with corrosion-resistant hardware | Salt air accelerates corrosion on lower-grade metal components over years of exposure |
| Glass package | Dual-pane, low-E coated, argon-filled | Cuts condensation risk in our damp, cool climate and improves comfort near large glass areas |
| Flashing tape | Butyl or high-quality acrylic, rated for the temperature range at install | Cheap tape loses adhesion in cold, damp conditions and fails at the seams first |
| Sill design | Sloped sill pan, not flat | Standing water at the sill is what feeds long-term rot and moss growth around openings |
| Weep system | Clear, unobstructed weep holes | Weep paths that get sealed shut or blocked by trim trap water instead of draining it |
None of these are exotic upgrades — they're standard-grade choices for a house that's going to sit in this climate for decades. Where we do push back is on frame types or hardware that look fine on a spec sheet but have a track record of struggling with damp, salt-influenced air; we'll walk you through those trade-offs honestly rather than upsell a product line.
Our Process, From Framing to Final Seal
On a new build or addition, we coordinate directly with your framer or general contractor rather than showing up as a disconnected trade. That matters because window openings and flashing details need to be right before siding starts, and rework after the fact costs everyone time and money.
Typical Steps
- Site visit during or shortly after framing to check rough openings against window schedules
- Sill pan flashing and initial water management setup before windows arrive
- Window installation following the shingle-lap flashing sequence described above
- Housewrap integration and taping, restoring the drainage plane
- Interior fit and finish check — squareness, operation, and hardware function
- Final walkthrough with photos of flashing details before they're covered by siding
We document the flashing work before it disappears behind siding because that's the part of the job nobody can inspect later. If a question ever comes up down the road, having a record of how each opening was flashed saves everyone the guesswork.
Common Problems We See on Newer Homes in This Area
Most of the window callbacks we get on newer builds in Whatcom County trace back to a handful of repeat issues, and they're worth naming plainly:
- Missing or reversed flashing sequence — head flashing tucked under the side flashing instead of over it, which directs water into the wall rather than around it.
- No sill pan — relying on caulk alone at the sill, which fails well before the rest of the window does.
- Over-sealing — caulking the entire perimeter solid, which blocks the weep path and traps moisture that should be draining out.
- Moss and organic buildup at the sill and trim — a maintenance issue more than an install issue, but one that's constant in our climate and worth planning for with trim details that shed water instead of holding it.
- Fastener corrosion — lower-grade screws and hardware showing rust streaks within a few years, especially closer to open water.
None of these are hard to avoid. They're avoided by following the sequence, using the right materials for the exposure, and not cutting corners on the parts of the job that are invisible once siding goes up.
Timing Your Window Install With Your Build Schedule
Window installation on a new build needs to happen at a specific point — after the rough opening is framed and the WRB is on, but before siding and interior finish work begin. Scheduling this wrong creates real problems: too early and the openings may not match final framing tolerances, too late and you've got exposed sheathing sitting through a rain event with no protection.
We work with your build timeline rather than around it, and we'll flag scheduling conflicts early — for example, if your siding crew is set to start before window flashing can reasonably be inspected and covered properly, that's worth a conversation before it becomes a rework problem.
Why a Crew That Already Works Everson and Blaine Matters
Whatcom County's weather isn't uniform even within a few miles. Sites closer to the water deal with more direct salt exposure; inland sites like much of Everson deal more with sustained damp and moss growth from tree cover and slower drying conditions. A crew that works this specific area regularly knows which of those conditions applies to your lot, and adjusts flashing details, material choices, and maintenance recommendations accordingly — rather than applying a one-size-fits-all approach built for a different climate.
We also know the local building department expectations and typical inspection points for new construction in this area, which keeps your project moving instead of stalling on a flashing detail that needs to be redone.
If you're framing a new home or addition in Everson or anywhere around Blaine, we're glad to walk your site, review your window schedule, and give you a straightforward, no-pressure estimate — just fill out the form below to get started.